To use the Custom Log functionality, you must first create the user tables. This is done in the Screen Manager module, which is accessed by clicking the Screen Manager button on the Start ribbon.

Click the User Tables tab to display the User Tables screen.
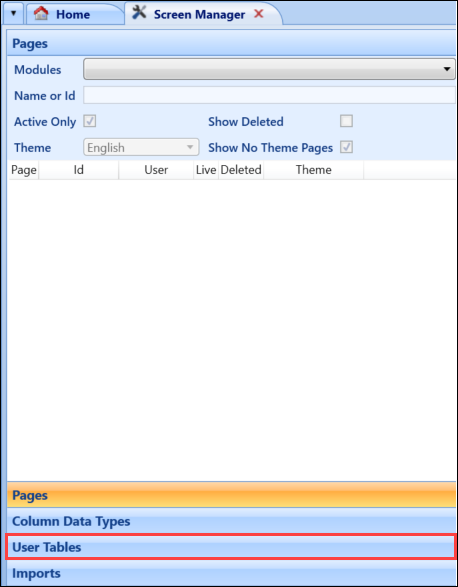
Using screen manager, you can then:
-
Click the Add User Table button on the System Configuration Commands ribbon.

The User Table details section is enabled.

-
Select one of the following table types from the User Table Type field drop-down list to specify the custom log the table will display in:
- PEOPLE - will display on the Learner Log window
- ORGANISATION_UNITS - will display on the Organisation Log window
- FEES_LIST - will display on the Fees Log window
- UNIT_INSTANCES - will display on the Curriculum Log window
-
Enter the table name into the User Table Name field. The field is automatically prefixed with UT_TABLENAME_, where TABLENAME is the table type (for example: if you select PEOPLE as the table type, the table name will have the prefix UT_PEOPLE_).
These prefixes must remain for the user tables to be saved.

-
Click Save.
The record is saved and can be viewed in the left-hand pane.
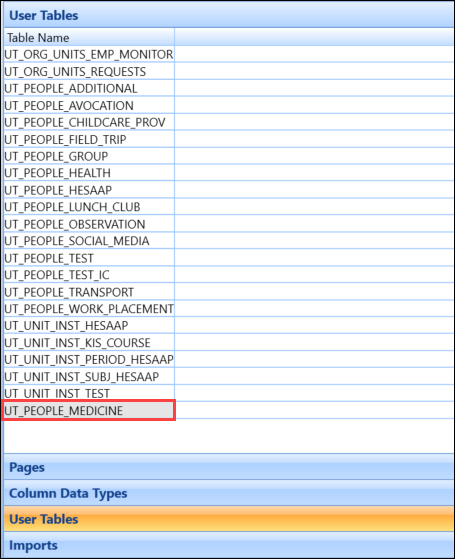
To add a column to a user table:
-
Click the Add User Table Column button on the System Configuration Commands ribbon.

This will create a new row in the Table Columns grid of the User Table details section.

- Enter the details of the new column.
The fields for a column being added are described in the following table.
| This field | Holds this information... |
|---|---|
| Name | The name of the column. |
| Data Type |
The data type for the column. Select one of the following:
|
| Length | The maximum length for the column. |
| Scale | If the data type is set to 'Numeric', this is the number of decimal places required. |
| Default Value | The default value for the column. |
| Index | Whether this field is to be indexed. |
| Nullable | Whether the column can be null. |
| Config Visible | Whether the column is visible. |
| Config Required | Whether the column is a required field. |
- Click the Add User Table Column button if you want to add more columns to the user table. Otherwise, click the Save button to save the user table.
To delete a column from a user table:
-
Select the column you want to delete.
You can only delete columns that you have created. The standard columns included on every user table are mandatory and cannot be deleted.
-
Click the Delete button on the System Configuration Commands ribbon.

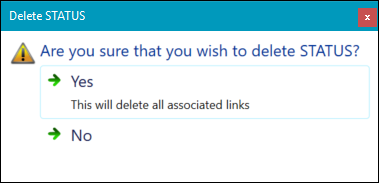
A message is displayed so you can confirm deletion.
-
Click Yes.
The column is deleted.
When you have added all the columns you want to add to the new user table and saved the table you can publish it.
When a table has been published you will not be able to make any amendments to the user table. However, you can add further columns after a table has been published by clicking the Add User Table Column button.
To publish a table:
-
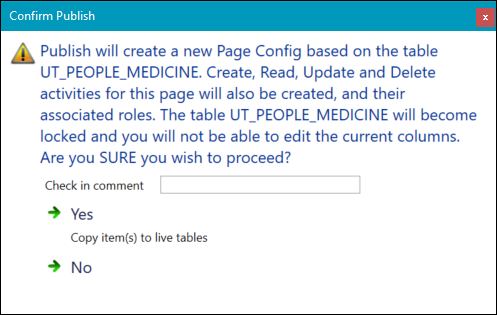
Click the Publish button on the System Configuration Commands ribbon.

The Confirm Publish window is displayed.
-
Enter a check in comment in the Check in Comment field, and then click Yes to publish the table.
A confirmation message is displayed.
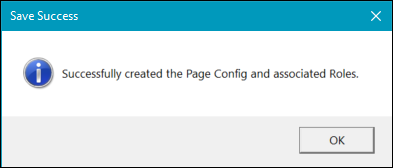
- Click OK to close the message.
-
Click the Import User Table button on the System Configuration ribbon.

The Open User Table Export file window is displayed.
-
Search for and select the relevant .xml file, and then click Open.
The file is then imported.
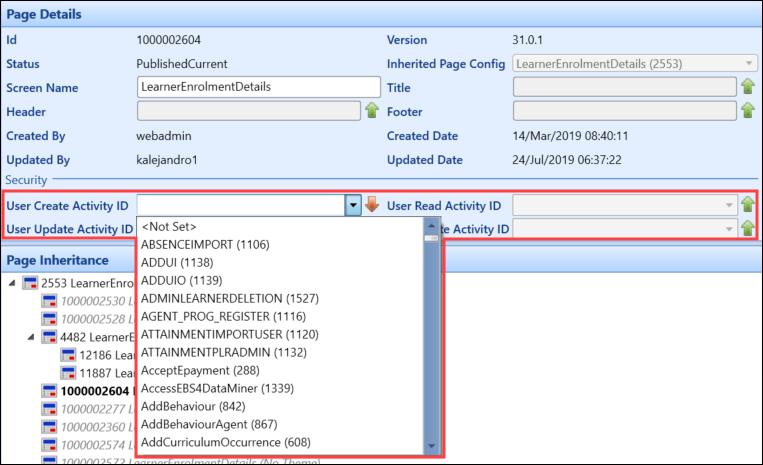
The activity IDs (that is: the User Create Activity ID, User Read Activity ID, User Update Activity ID and User Delete Activity ID fields in the Page Details panel on the Pages screen) may vary between systems and may require updating manually after an import. The fields have been changed to drop-downs to assist with this. Previously, these fields were free text.
-
Open the user table that you want to export by selecting from the User Tables panel.
-
Click the Export User Table button.

The Select destination for the output file window is displayed.
-
Navigate to an appropriate location to store the file, and then click Save.
The output .xml file is generated.