Select a fee record to display the corresponding details in the Fee Details section. Any waivers are displayed in the Waivers section beneath the fee details.
You can use the Fee Details section to amend the details for the record (for example: the standard fee, and the actual fee).
You cannot amend the details of a fee that has been invoiced.
From the Fees tab, you can:
You can filter the fees to view all fees, those that have been paid, and those that are outstanding.
NZ You can also filter the fees to view invoiced, and uninvoiced fees.
Click the Expand button in the top right of the Fees grid to show the Payment Filter options.

You can then select a payment filter option, which updates the records displayed and the indicator at the top of the Fees grid.

You can create additional fees, other than the course default fees, for a learner. These fees can be person-type fees, or enrolment-type fees. Fee types are designated as person or enrolment types in reference data.
-
Click the Add Fee button on the Payments ribbon.

A new record is added in the Fees grid.
-
Enter the required details in the Fee Details section.

The fields in the Fee Details section are described in the following table.
-
Click Save.
The fee is added and displayed in the Fees grid.
To delete a fee:
-
Select the required fee in the Fees grid, and then click the Delete Fee button on the Payments ribbon.
You can only delete one fee at a time.

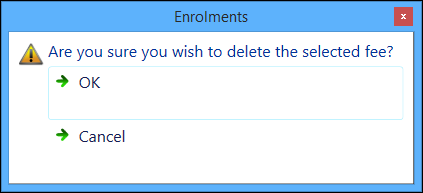
The following message is displayed.
-
Click OK to confirm deletion of the fee.
The fee record is deleted.
To pay fees:
-
Select the required fees in the Fees grid, and then click the Pay Selected button on the Payments ribbon.

The Receipts tab is displayed.
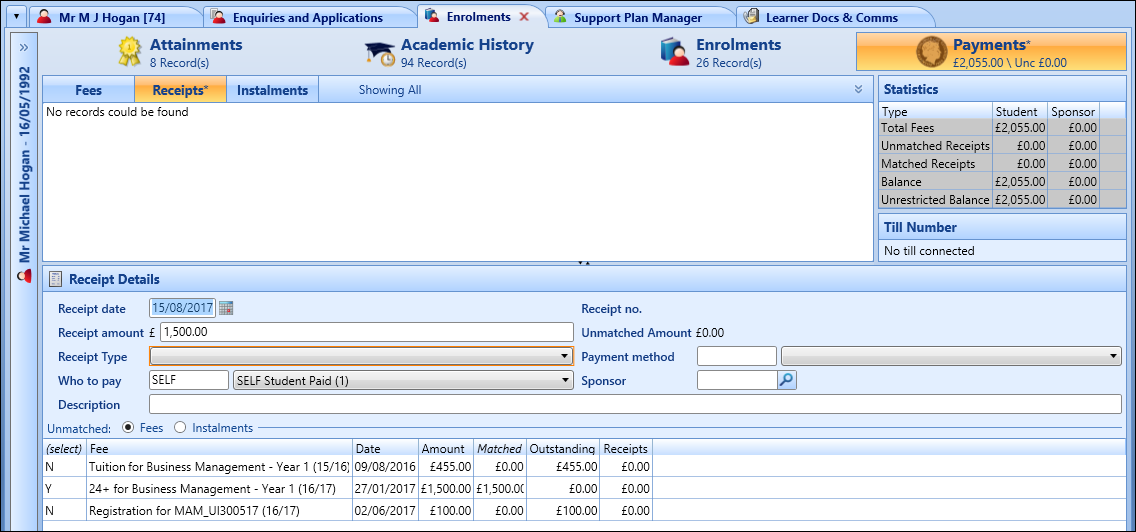
The Receipt Amount and Who To Pay fields are automatically populated with the fee details. You can change these, if required.
- Enter the required details in the Receipt Details section.
The fields in the Receipt Details section are described in the following table.
| This field | Holds this information... |
|---|---|
| Receipt Date | The date the receipt was created. Defaults to the current system date. To change the date, click the Calendar button to display the calendar, where you can select the required date. |
| Receipt No. | The receipt number (read-only). |
| Receipt Amount | The amount required to pay. This is automatically populated from the details entered for the fee. |
| Unmatched Amount | The unmatched amount (read-only). |
| Receipt Type | The receipt type. Select from the drop-down list. |
| Payment Method |
The payment method. Select from the drop-down list. Selecting to pay by ePayment will direct you to the payment page of your online payment provider. |
| Who to Pay | The person/company/institution responsible for paying the fee. This is automatically populated from the details entered for the fee. |
| Sponsor | If you selected a sponsor value in the Who To Pay field, enter the required sponsor code. Alternatively, click the Search button to display the Sponsor Search window, where you can select the required code. |
| Description | The description for the fee. |
-
Click Save.
The receipt record is created.
To pay fees:
-
Select the required fees in the Fees grid, and then click the Pay Selected button on the Payments ribbon.

The Enrolments Receipt window is displayed.
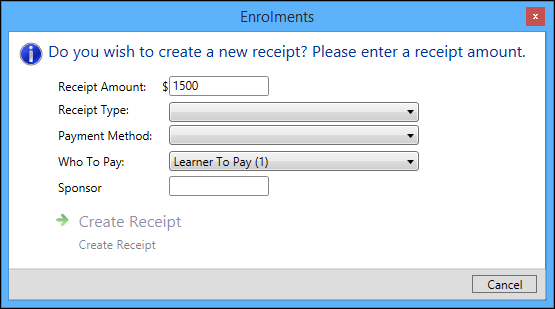
The Receipt Amount and Who To Pay fields are automatically populated with the fee details. You can change these, if required.
- Enter the required details in the available fields.
The fields on the Enrolments Receipt window are described in the following table.
| This field | Holds this information... |
|---|---|
| Receipt Amount | The amount required to pay. This is automatically populated from the details entered for the fee. |
| Receipt Type | The receipt type. Select from the drop-down list. |
| Payment Method |
The payment method. Select from the drop-down list. Selecting to pay by ePayment will direct you to the payment page of your online payment provider. |
| Who to Pay | The person/company/institution responsible for paying the fee. This is automatically populated from the details entered for the fee. |
| Sponsor | If you selected a sponsor value in the Who To Pay field, enter the required sponsor code. Alternatively, click the Search button to display the Sponsor Search window, where you can select the required code. |
-
Click Create Receipt.
The receipt record is created.
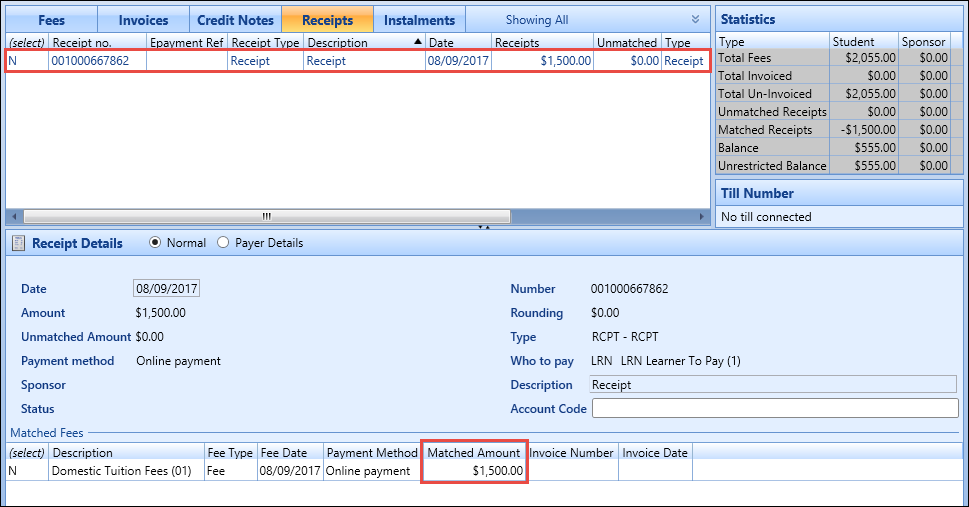
The Receipts tab of the Enrolments module is displayed when you select to create a receipt on the Enrolments Receipt window. When the receipt is created, the system will automatically cash match the receipt to the fees selected for payment, creating the ‘child’ receipt records as required.
You can change the amounts to be paid for each fee by clicking in the Matched field and entering an amount in the cash matching records at the bottom of the screen.

When you save the changes:
- The created receipt including receipt number is displayed in the Receipts grid
- The fees are matched to the receipt and displayed at the bottom of the Receipt Details section
If you have selected ePayment as the payment method, the following message is displayed on saving.
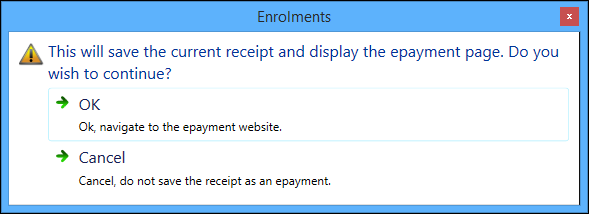
Click OK to display the ePayments window, from which you can pay fees by ePayment.

