Use the Bulk Enrol feature on the Learners page to select both enrolled and non-enrolled learners, and then bulk enrol them onto a course.
The Enrolment Manager role is required to use the Bulk Enrol functionality.

You can control whether or not a bulk enrolment completes for successful records when there is a partial failure using the Rollback Transaction on Partial Failure institution setting.
For information on how the bulk enrolment functionality deals with over-subscribed courses, see Over-Subscribed Courses.
To display the Bulk Enrolment Wizard:
-
Use the Condition Builder to search for and display learner records.
-
Select the required learners in the Learners grid.
You can select multiple records using Shift-click (for a series of records), Ctrl-click (for individual records), or Ctrl-A (for all records).

-
Click the Bulk Enrol button on the Learner Manager ribbon.
The Bulk Enrolment Wizard is displayed.
The Bulk Enrolment Wizard is made up of the following screens:
The Select Course screen of the Bulk Enrolment Wizard is the initial screen displayed. The number of records to enrol is displayed at the top of the screen.
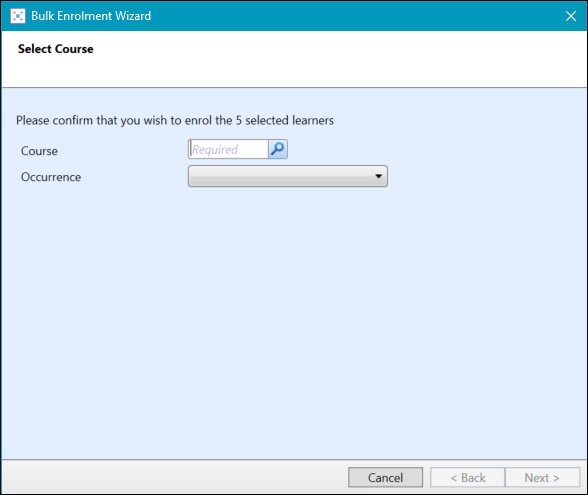
The fields available on the Select Course screen are described in the following table.
| This field | Holds this information... |
|---|---|
| Select Course | Click the Search button to display the Course Search window, where you can select the required course. |
| Occurrence | The required course occurrence from the list available. |
Click the Next > button to display the Bulk Enrolment Options screen.
Use the Bulk Enrolment Options screen to specify the required enrolment options.
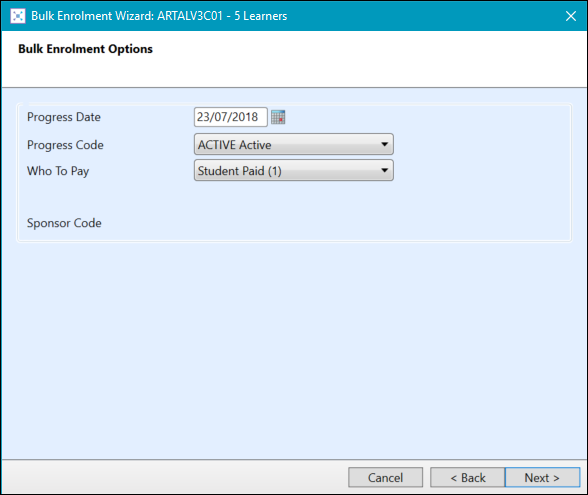
The fields available on the Bulk Enrolment Options screen are described in the following table.
| This field | Holds this information... |
|---|---|
| Progress Date |
The progress date. Enter the date or click the Calendar button to display the calendar, where you can select the required date. The default is the current system date. |
| Progress Code |
The progress code. Select from the drop-down list (for example: Active). Progress codes are set up in Reference Data. |
| Who To Pay | The required payment value. Select from the drop-down list. |
| Sponsor Code | If you selected a sponsor value in the Who To Pay field, enter the required sponsor code. |
Click the Next > button to display the Occurrences screen.
The Occurrences screen displays the parent course at the top of the Children pane, and lists any child courses underneath.
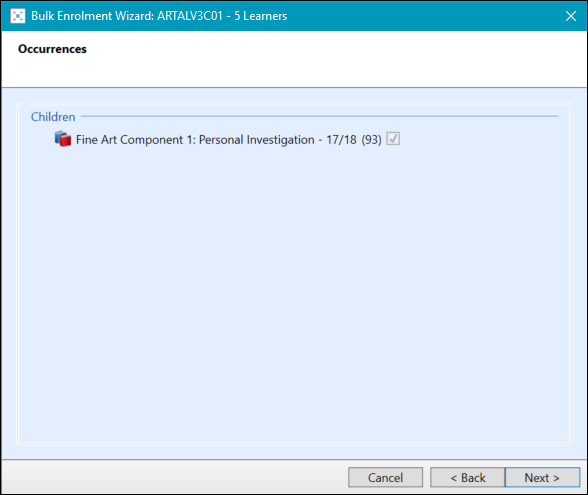
Mandatory courses are already selected (ticked) and cannot be deselected. Non-mandatory courses (unticked) can be selected for bulk enrolment. When you bulk enrol onto a course with an Active status, the number in brackets adjacent to the course is the number of places available after enrolling the selected learners. When you bulk enrol onto a course with a Waiting List status, the number in brackets is the number of places available.
Select the required occurrences, and then click the Next > button to display the Cascade Options screen.
Use the Cascade Options screen to specify the required cascade options.
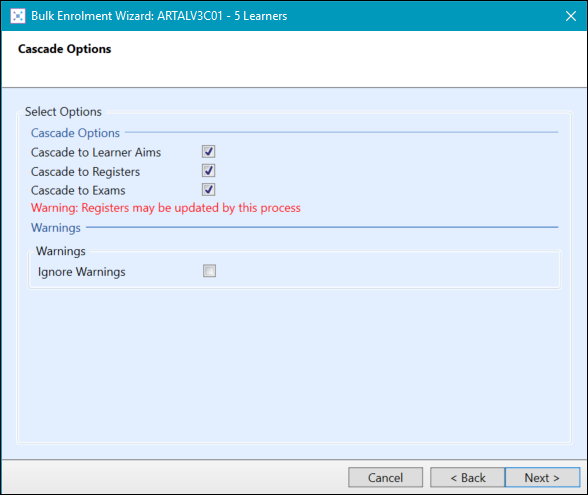
The fields available on the Cascade Options screen are described in the following table.
| This field | Holds this information... |
|---|---|
| Cascade to Registers |
Whether the progress date and code selected are cascaded down to any registers associated with the selected records, providing the enrolment status codes have been set up correctly in the Registers Students Progress Types reference data. Selecting the check box will cause any register slots after the date specified to be deactivated. |
| Cascade to Exams | Whether the progress date and code selected are cascaded down to any exam records associated with the selected records. |
| Ignore Warnings | Whether the system should ignore any warnings when processing the records. |
| UK Cascade to Learner Aims | Whether the progress date and code selected are cascaded down to any learner aim records associated with the selected records, providing the progress codes in Reference Data have been set up correctly. |
Click the Next > button to display the Summary of Changes screen.
Use the Summary of Changes screen to review and confirm the bulk enrolment.
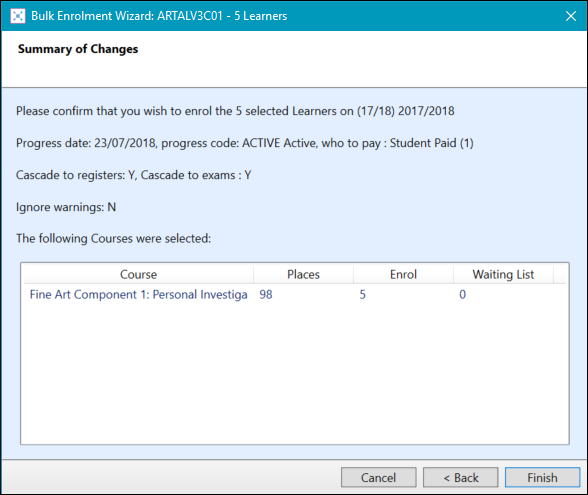
Click the Finish button to enrol learners onto the selected course, the mandatory children of that course, and any optional children selected.
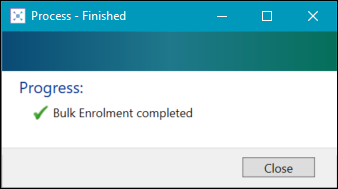
If the enrolment is successful, the Process window will display the following message:
If the enrolment is not successful, the Process window will display an error message similar to the following:
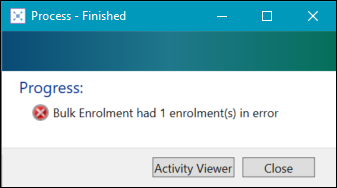
Click the Activity Viewer button to the display the Activity Viewer so you can view the enrolment errors.
Refer to Use the Activity Viewer for further information.