You can manage the international details for a learner by clicking the International tab in the left-hand pane.
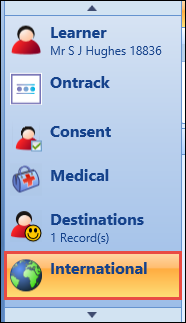
This functionality is controlled by the EBS4International licence.
This will open the International tab, with the Passport sub-tab displayed by default.
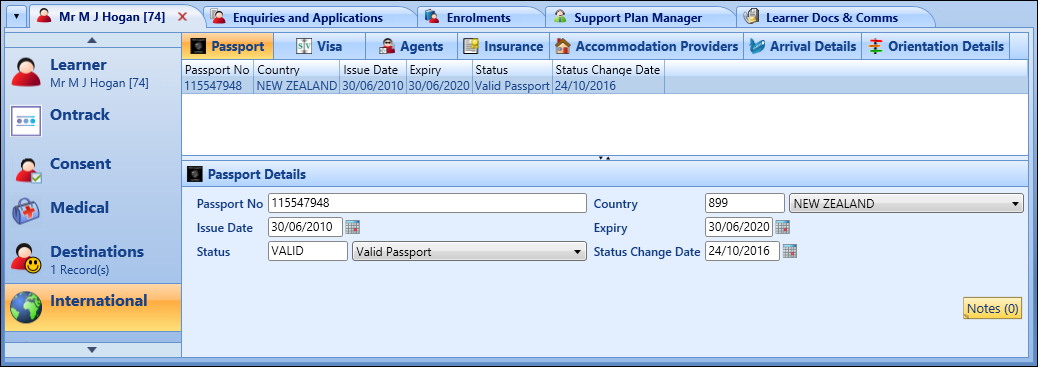
From the International tab, you can:
Click the Passport sub-tab to display passport details for international learners.
NZ This information is used for validation purposes when enrolling learners.

To add a passport record:
-
Click the Add button on the International ribbon.

-
Enter the required details for the passport in the Passport Details section.

The fields in the Passport Details section are described in the following table.
| This field | Holds this information... |
|---|---|
| Passport No | The passport number. |
| Country | The issuing country of the passport. Select from the drop-down list. |
| Issue Date | The issue date of the passport. Click the Calendar button to display the calendar, where the required date can be selected. |
| Expiry | The expiry date of the passport. Click the Calendar button to display the calendar, where the required date can be selected. |
| Status | The passport status. Select from the drop-down list. |
| Status Change Date | The date the passport status changed. Click the Calendar button to display the calendar, where the required date can be selected. |
| NZ Validated | Whether the passport is validated. |
-
Click Save.
The passport details are added.
Click the Visa sub-tab to display visa details for international learners.
NZ This information is used for validation purposes when enrolling learners.
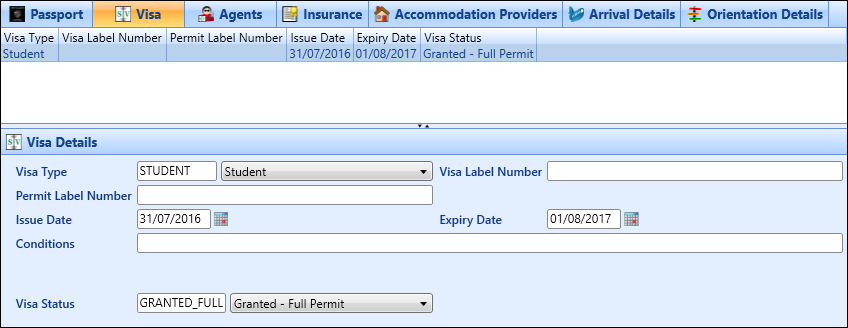
To add a visa record:
-
Click the Add button on the International ribbon.

-
Enter the required details for the visa in the Visa Details section.

The fields in the Visa Details section are described in the following table.
| This field | Holds this information... |
|---|---|
| Visa Type | The visa type. Select from the drop-down list. |
| Visa Label Number | The visa label number. |
| Permit Label Number | The permit label number. |
| Issue Date | The issue date of the visa. Click the Calendar button to display the calendar, where the required date can be selected. |
| Expiry Date | The expiry date of the visa. Click the Calendar button to display the calendar, where the required date can be selected. |
| Conditions | Any conditions applicable to the visa. |
| Visa Status | The visa status. Select from the drop-down list. |
| NZ New Visa Renewal record file generated | Whether the visa renewal record has been sent to INZ. |
| NZ Validated | Whether the visa is validated. |
-
Click Save.
The visa details are added.
Click the Agents sub-tab to display which agent is involved with a learner application.
An agent can be added in the organisation management module.

To add an agent record:
-
Click the Add button on the International ribbon.

-
Enter the required details for the agent in the Agent Details section.

The fields in the Agent Details section are described in the following table.
| This field | Holds this information... |
|---|---|
| Agent | The agent for the learner. Click the Search button to display the Agent Search window, where you can select the required agent. |
| Commission Rate | The commission rate for the agent. |
| Commission Amount | The commission amount for the agent. |
| Start Date | The start date for the agent. Click the Calendar button to display the calendar, where the required date can be selected. |
| End Date | The end date for the agent. Click the Calendar button to display the calendar, where the required date can be selected. |
-
Click Save.
The agent record is added.
Click the Insurance sub-tab to display details regarding the travel and medical insurance for learners.
An insurance provider can be added in the organisation management module.

To add an insurance policy record:
-
Click the Add button on the International ribbon.

-
Enter the required details for the insurance policy in the Insurance Policy Details section.

The fields in the Insurance Policy Details section are described in the following table.
| This field | Holds this information... |
|---|---|
| Insurance Provider | The insurance provider. Click the Search button to display the Insurance Provider Search window, where you can select the required insurance provider. |
| Policy No | The insurance policy number. |
| Policy Start Date | The start date of the insurance policy. Click the Calendar button to display the calendar, where the required date can be selected. |
| Policy End Date | The end date of the insurance policy. Click the Calendar button to display the calendar, where the required date can be selected. |
| Policy Cover | The type of policy cover. Select from the drop-down list. |
-
Click Save.
The insurance policy record is added.
Click the Accommodation Providers sub-tab to display details regarding the accommodation providers that learners are using.
An accommodation provider can be added in the organisation management module.
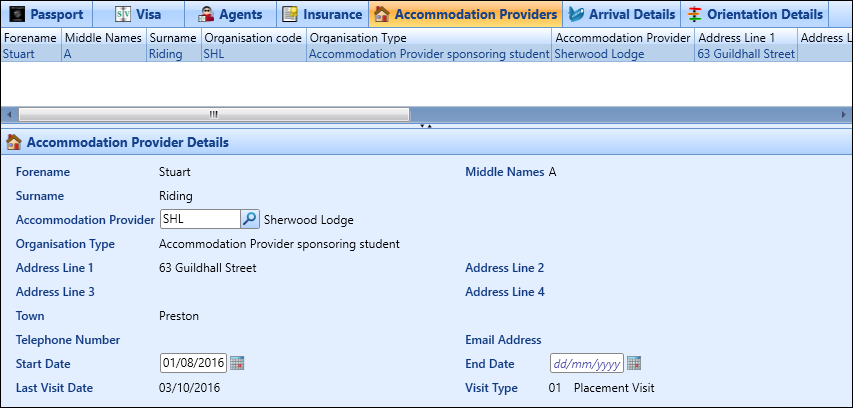
To add an accommodation provider record:
-
Click the Add button on the International ribbon.

-
Enter the required details for the accommodation provider in the Accommodation Provider Details section.

The fields in the Accommodation Provider Details section are described in the following table.
| This field | Holds this information... |
|---|---|
| Forename/Middle Names/Surname | The Forename, Middle Names and Surname fields will be populated with the details (if available) of the contact for the accommodation provider record on saving (read-only). |
| Accommodation Provider | The accommodation provider. Click the Search button to display the Accommodation Provider Search window, where you can select the required accommodation provider. |
| Address Line 1-4/Town | The Address Line 1-4 and Town fields will be populated with the details (if available) of the address for the accommodation provider record on saving (read-only). |
| Telephone Number | This field will be populated with the telephone number (if available) for the accommodation provider record on saving (read-only). |
| Email Address | This field will be populated with the email address (if available) for the accommodation provider record on saving (read-only). |
| Start Date | The start date of the learner at the provider. Click the Calendar button to display the calendar, where the required date can be selected. |
| End Date | The end date of the learner at the provider. Click the Calendar button to display the calendar, where the required date can be selected. |
| Last Visit Date | This field will be populated with the last visit date (if available) for the accommodation provider record on saving (read-only). |
| Visit Type | This field will be populated with the visit type (if available) for the accommodation provider record on saving (read-only). |
-
Click Save.
The accommodation provider record is added.
Click the Arrival Details sub-tab to display details regarding the travel arrangements for international learners.

To add an arrival details record:
-
Click the Add button on the International ribbon.

-
Enter the required details of the travel arrangement in the Arrival Details section.

The fields in the Arrival Details section are described in the following table.
| This field | Holds this information... |
|---|---|
| Airline | The airline the learner is travelling on. |
| Flight No | The flight number of the flight the learner is travelling on. |
| Arrival Date | The arrival date of the flight the learner is travelling on. Click the Calendar button to display the calendar, where the required date can be selected. |
| Arrival Time | The arrival time of the flight the learner is travelling on. |
| Pickup Required | Whether the learner requires picking up from the airport. |
-
Click Save.
The arrival details record is added.
Click the Orientation Details sub-tab to display details regarding the orientation meetings/sessions for international learners.

To add an orientation details record:
-
Click the Add button on the International ribbon.

-
Enter the required details of the orientation meeting/session in the Orientation Details section.

The fields in the Orientation Details section are described in the following table.
| This field | Holds this information... |
|---|---|
| Orientation Date | The date of the orientation meeting/session. |
| Attended? | Whether the learner attended the orientation meeting/session. |
| Information | Any further information regarding the orientation meeting/session. |
-
Click Save.
The orientation details record is added.
NZ You cannot delete passport or visa records that are validated or linked to an enrolment.
To delete a record from one of the International sub-tabs:
- Select the required record in the grid.
-
Click the Delete button on the International ribbon.

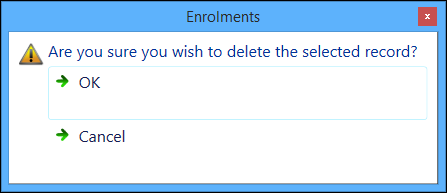
A message is displayed.
-
Click OK to delete the selected record.
The record is deleted.
You can validate learner passports or visas and record the details on viewing a copy of the relevant documentation.
To validate a learner passport or visa:
-
Select the required passport or visa record from the Passport or Visa sub-tab, and then click the Validation button on the International ribbon.

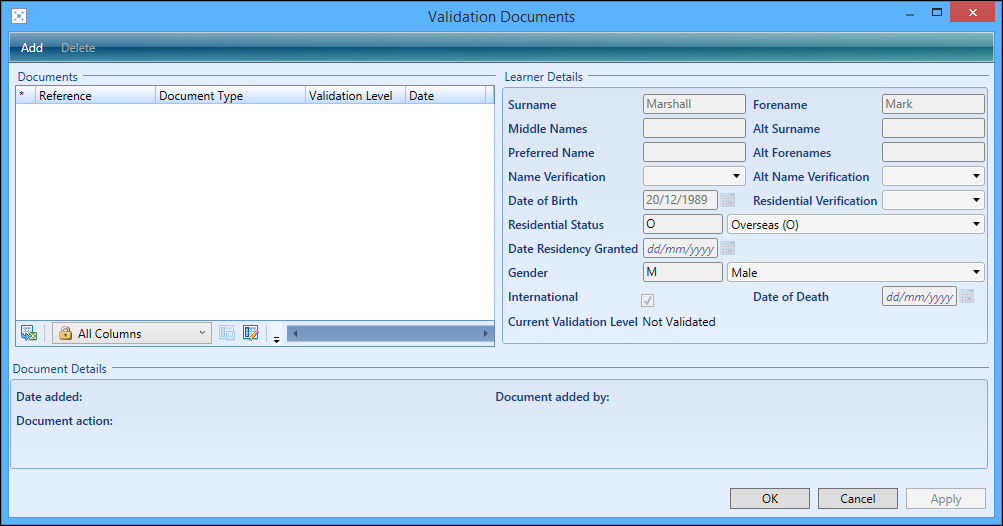
The Validation Documents window is displayed.
-
Click the Add button at the top of the window.

-
Enter the required details in the Documents grid.

The fields in the Documents grid are described in the following table.
| This field | Holds this information... |
|---|---|
| Reference | A user-defined reference for the document. |
| Document Type | The document type. Select from the drop-down list |
| Validation Level | This field is automatically populated with the validation level set for the selected document type in reference data (read-only). |
| Date | The date the document was added. Defaults to the current system date. Click the Calendar button to display the calendar, where the required date can be selected. |
-
Click the Apply button at the bottom of the window.
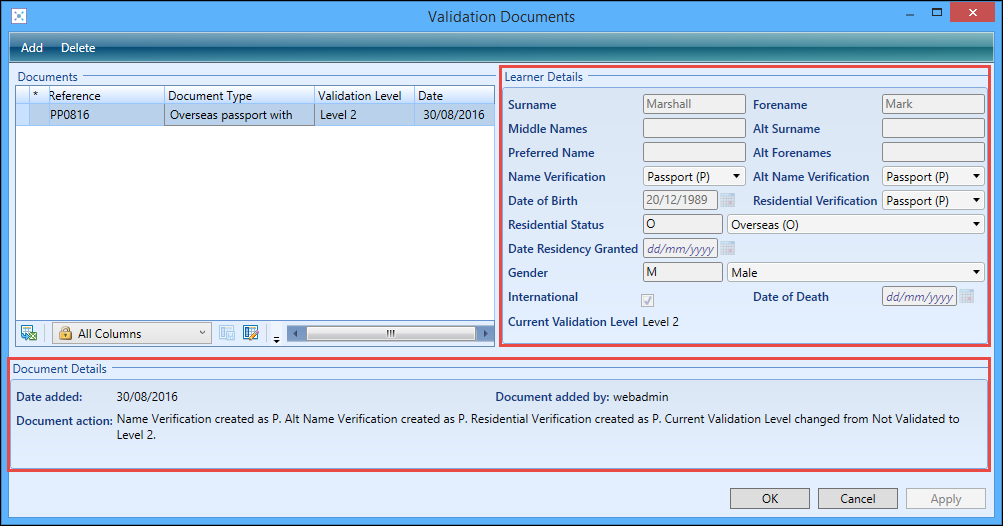
The document is saved and the Learner Details and Document Details sections of the Validation Documents window updated with the relevant information entered.
-
Click OK to close the window.
The passport or visa record is validated and the Validated field updated to Yes.

When a passport and/or visa have not been validated for an international learner, a warning message can be displayed when attempting to enrol the learner depending on the value set for the International validation mode institution setting on the International screen.
For example: if the International validation mode institution setting is set to (V) Visa only and the learner's visa has not been validated, the following message is displayed.
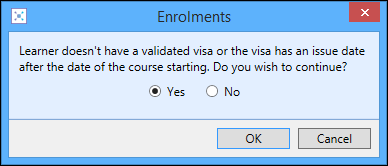
If you have the International Students Admin role, you can select Yes and then click OK to override the message and complete the enrolment. However, if you do not have this role, the following warning message is displayed and the enrolment cannot be completed.

This message is displayed when processing international learners in the following:
- Direct enrolments
- Rolling forward enrolments
- Progressions - transfer
- Converting applications to enrolments
- Bulk enrolments
- Ontrack Learner Hub enrolments
To change the current year settings for the International tab, click the International Current Year button on the International ribbon.

If the current year setting is off, all records for the learner are displayed regardless of the time period in which they fall. If the current year setting is on, all records within the start and end date range are displayed.
The international current year is defined by the Current year start date for enrolments and Current year end date for enrolments institution settings on the Enrolments screen.
