Manage Reports
Reports can be created using Microsoft Business Intelligence Development Studio or Microsoft Reports Builder.
When you have created a report you can add the report for use with ebs Reports, however this must first be saved onto the report server.
To manage reports, you can:
-
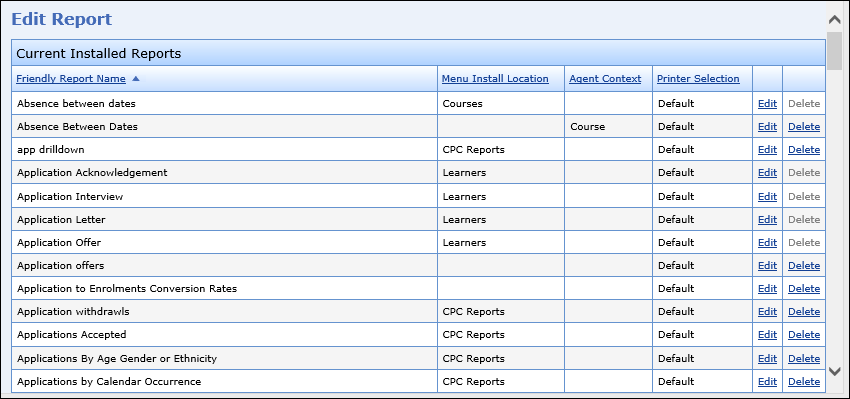
Access the Edit Report page. See Header for more information.
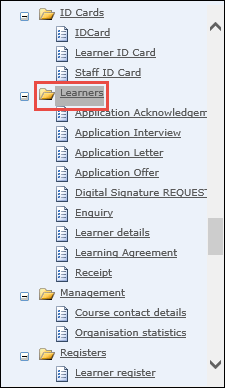
Note: You can select the folder you want the report to be stored in from the navigation pane.
-
Click the Add Report button at the bottom of the page.

The Add Report page is displayed.

-
Click the Add option to select where the new report will be installed.

The Add Report - Report Details page is displayed.
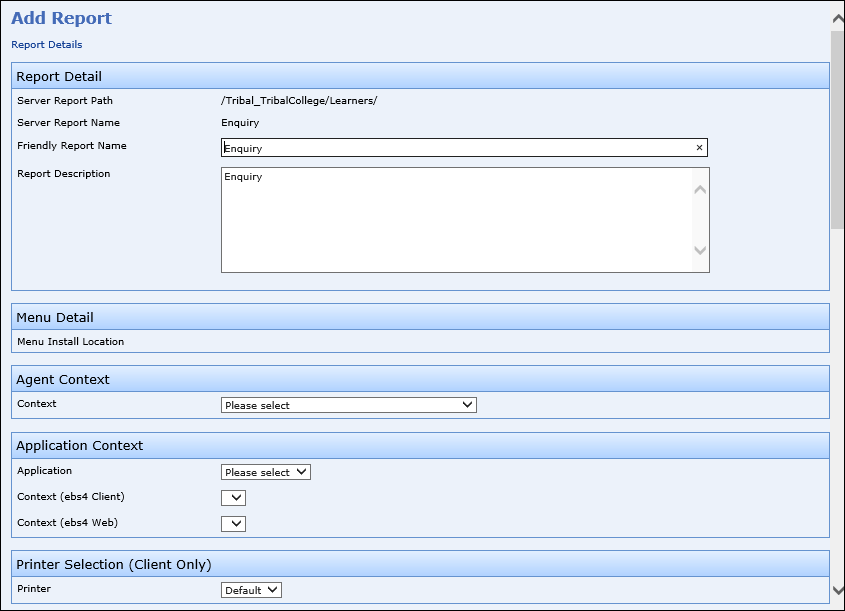
- Enter the required details for the report.
The fields on the Report Details page are described in the following field.
-
Click the Next button at the bottom of the page.

The Add Report - Parameter Details page is displayed.

- Check the parameters for the report, and if required add a default value as follows:
Click the Edit option against the parameter you want to add a default value to.

The Parameter Detail window is displayed.
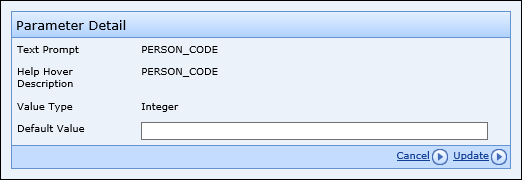
- In the Default Value field, enter the required default value.
- Click the Update button.
The default value is displayed in the Values column for the parameter on the Add Report - Parameter Details page.
-
Click the Next button at the bottom of the page.

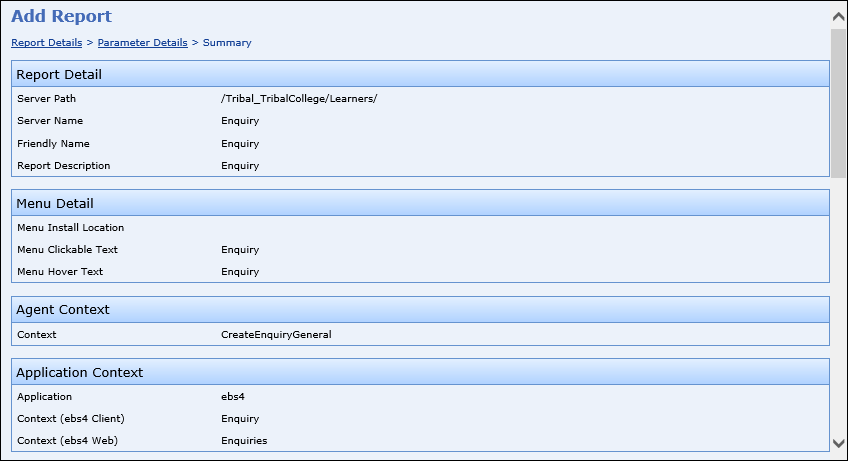
The Add Report - Summary page is displayed.
-
Click the Add Report to the Database button at the bottom of the page.

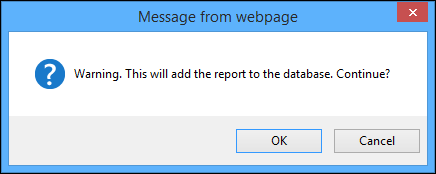
The following message is displayed.
-
Click OK.
The report is added and a confirmation message displayed.

The following report information can be edited:
|
|
To edit a report:
-
Access the Edit Report page. See Header for more information.

-
Click the Edit option for the report you want to edit.

The Edit Report - Report Details page is displayed.
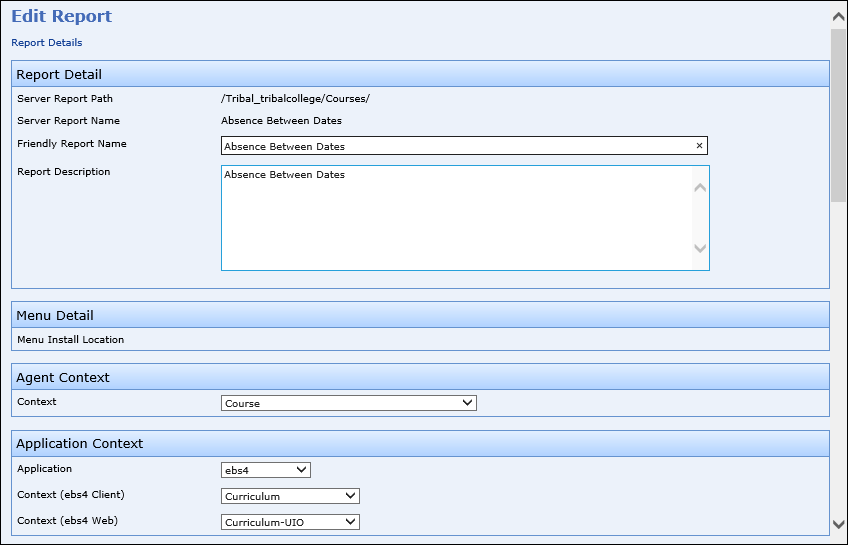
- Make the required changes to the report details.
-
When you have updated the report, click the Update Database Report Details button at the bottom of the Edit Report - Summary page.

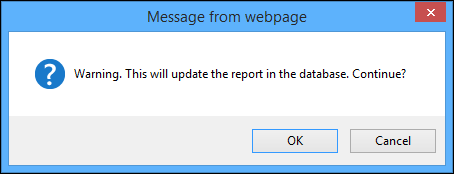
The following message is displayed.
-
Click OK.
The report is updated and a confirmation message is displayed.

- Click Continue to return to the Edit Report page for the reports folder of the updated report.
-
Access the Edit Report page. See Header for more information.

-
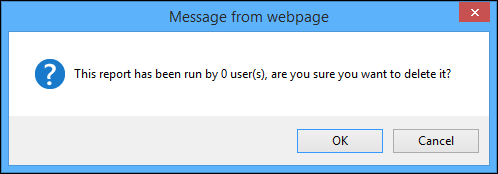
Click the Delete option for the report you want to remove.

The following message is displayed.
-
Click OK.
The report is deleted and removed from the list of installed reports.
You can email reports to a number of recipients in either HTML or Plain Text format.
To email a report:
-
Select the report you want to email in the navigation pane.
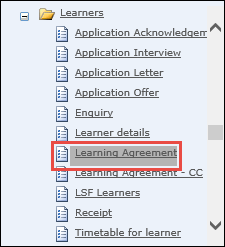
The report is displayed in the main section of the screen.
Note: Some reports will require a parameter to be defined before displaying the report information.

-
Click the Email Report tab.

The Email Details page is displayed.
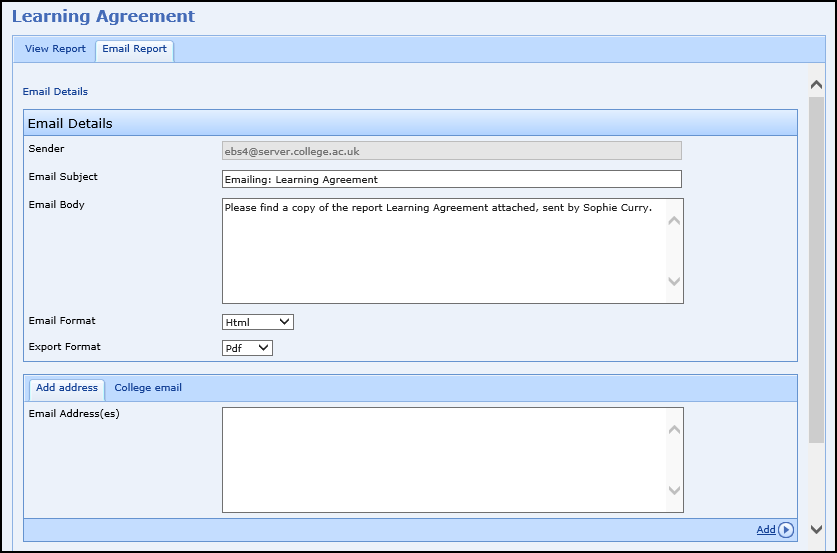
- Enter the required details for the email.
The fields on the Email Details page are described in the following table.
| This field | Holds this information... |
|---|---|
| Sender |
The email address the report is sent from (read-only). Note: This defaults to the email address entered in the Sending e-mail address institution setting. |
| Email Subject |
The subject of the email. Note: This defaults to the report name. |
| Email Body | The body text of the email. |
| Email Format | The email format. Select HTML or Plain Text. |
| Export Format | The export format. Select from the drop-down list. |
| Email Address(es) |
The email address of the recipient(s). Click the Add button after entering the relevant email address to add to the recipients list. Note: Use a comma to separate email addresses when adding multiple recipients. |
-
Click the Send Email button at the bottom of the page.

The email is sent to the selected recipient(s).