It is not possible to edit base EBS pages. To create a new page, you must clone an existing EBS page that you want to inherit the design and configuration from.
The two pages then remain linked via inheritance, meaning that should a new field be added to the base page, it will also be displayed in your cloned page.
It is recommended that you review your custom pages after an EBS upgrade to check that they still look correct.
The standard page remains in the system, allowing you to revert back to it, if required.
To create a new page:
To find out the Page ID of a page you want to clone:
-
For pages in Central:
- Navigate to the screen you want to edit.
-
Click the Config button after clicking the EBS button.
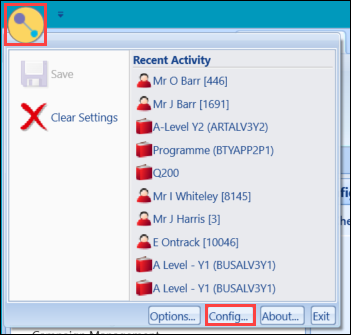
The Config Inspector window is displayed.

-
Make a note of the Page Id.
Clicking on the different Module and Control IDs also allows you to find a specific part of the screen you want to edit. When you highlight an ID, the relevant part of the screen it relates to is outlined in red.
-
-
Navigate to the Search window you want to edit.
-
Right-click on the menu bar and click the Config Inspector button.
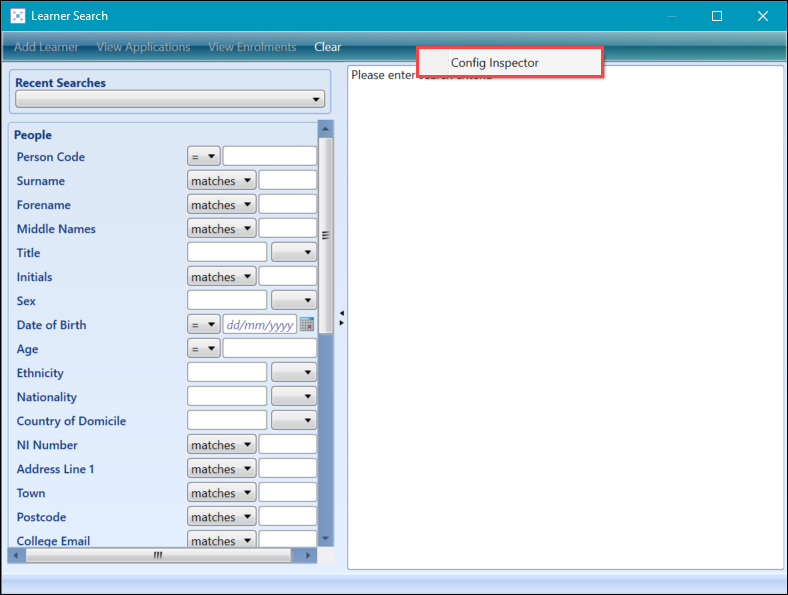
The Config Inspector window is displayed.
-
Select the Search window to display its configuration details in the Config Inspector.

Many screens are comprised of several individual page files combined. Each will have a separate name and ID number. In such cases, you will need to examine the contents of each one to confirm which page file contains the fields you want to change.
-
- For pages in Shape:
- Navigate to the screen you want to edit.
Select About from the Help drop-down on the menu bar.

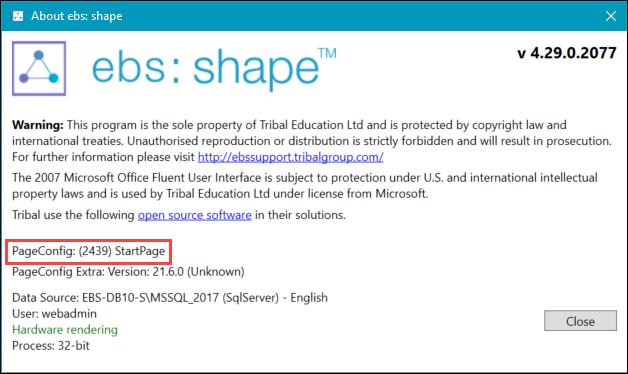
The About EBS shape window is displayed.
Make a note of the Page Id (labelled as PageConfig).
To create a page:
-
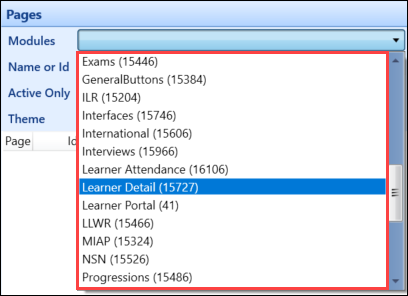
In the screen manager module, select the relevant module from the Modules drop-down in the Pages panel.
-
Click the Add Page button in the Page group on the System Configuration Commands ribbon.
You can also click the Copy Page button, but this is not recommended, as copied pages do not automatically display future changes to EBS. It is recommended that you inherit an existing page instead.

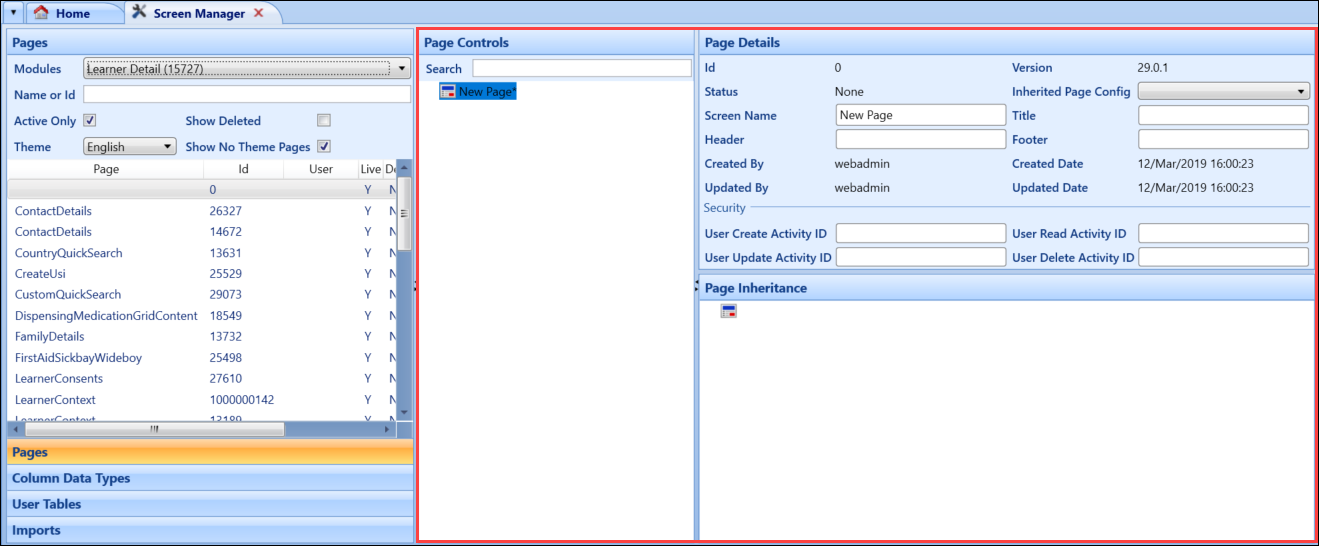
The Page Controls, Page Details and Page Inheritance panels are displayed.
-
Enter the relevant details in the Page Details panel.
The fields in the Page Details panel are described in the following table:
| This field | Holds this information... |
|---|---|
| Id | The page ID. |
| Version |
The version number of the page. The number is divided into the following parts:
For example: a version number of 29.1.0 means the page was created in version 29 of EBS (4.29) by Tribal rather than EBS and has not been updated. |
| Status | The status of the page. |
| Inherited Page Config | The Page Config the new page will inherit from. |
| Screen Name | The name that identifies the Page Config. If this page is to inherit from another, it must share the same Screen Name (for example: if you want to inherit from the LearnerDetails page, the screen name for the new page must also be LearnerDetails). |
| Title | The title of the page. |
| Header | The header text that is to be displayed at the top of the page. |
| Footer | The footer text that is to be displayed at the bottom of the page. |
| Created By | The user that created the page. |
| Created Date | When the page was created. |
| Updated By | The user that last updated the page. |
| Updated Date | When the page was last updated. |
| User Create Activity ID | This is not for customer use. |
| User Read Activity ID | This is not for customer use. |
| User Update Activity ID | This is not for customer use. |
| User Delete Activity ID | This is not for customer use. |
-
Click Save.
The page will now be created and have an ID set against it in the Pages panel.
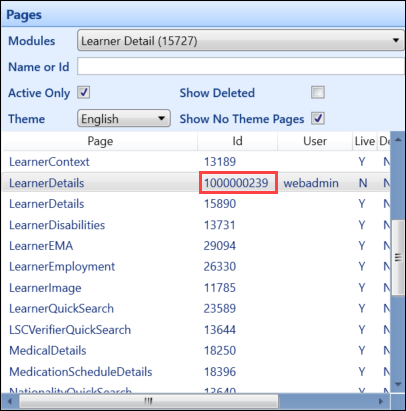
The page will not be live in EBS until the page is published.
-
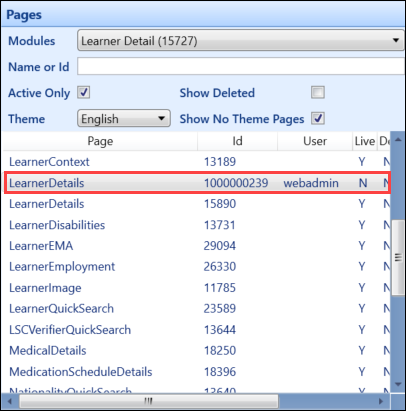
Select the page you want to publish from the Pages list.
-
Click the Publish button in the General group of the System Configuration Commands ribbon.

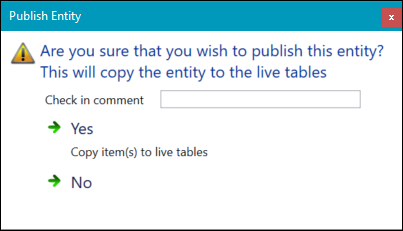
The Publish Entity window is displayed.
-
Enter a check-in comment in the Check in comment field (if enabled in Institution Settings), and then click Yes to publish the page.
Comment history can be viewed by clicking the Show History button in the General group of the System Configuration Commands ribbon.
