The Timetable Overview screen enables you to look at multiple course, staff or room timetables so that you can quickly compare their usage and make necessary amendments to the events.
You must have the EBS4Timetables licence to access Timetable Overview.
The Staff Timetable Overview will be used as an example for this section; however the same steps can be followed for course and room timetables.
To open the Timetable Overview screen:
-
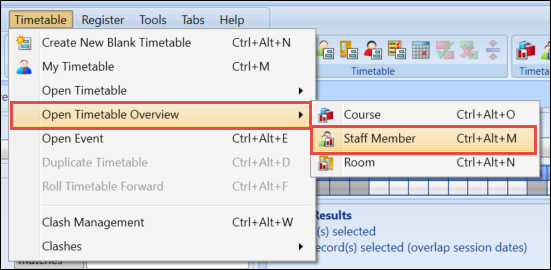
Select the Staff Member option from the Open Timetable Overview drop-down in the Timetable tab.
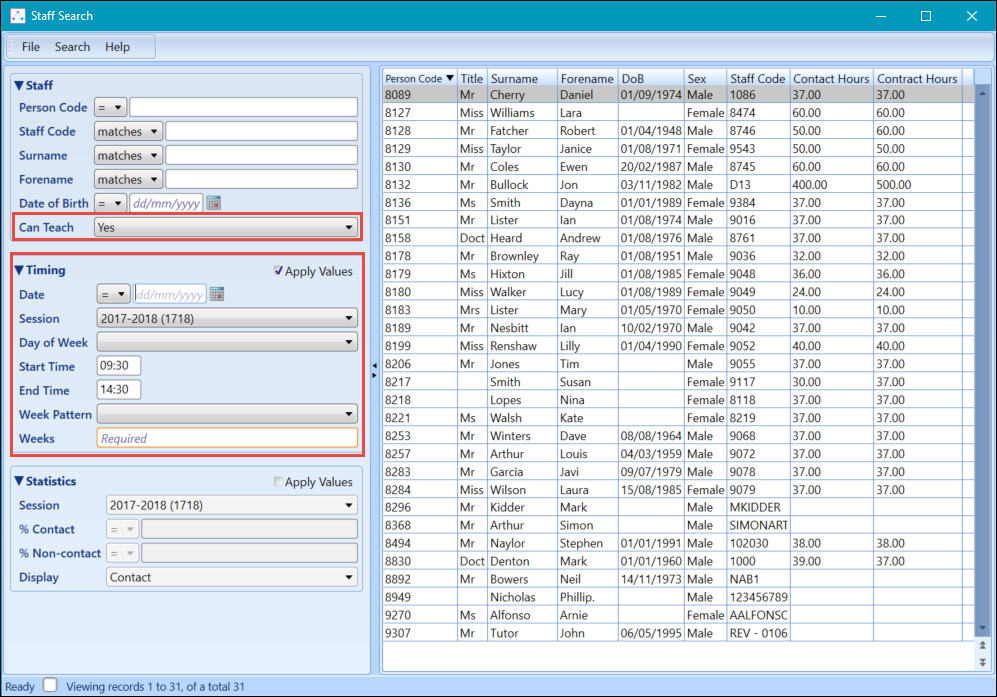
The Staff Search window will be displayed.
-
Use the search window to display the staff members you want to view. The following example shows staff that can teach and are available on Mondays between 09:30 and 14:30.
-
Select the staff members you want to view on the Timetable Overview screen. You can select multiple staff members by holding down Shift while selecting the first and last staff member, or alternatively hold down Ctrl to select one staff member at a time.

-
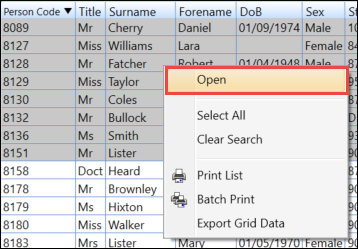
Right-click on the selected staff members and select the Open option.
Using the Timetable Overview screen you can:
The Timetable Overview screen displays the selected resources.

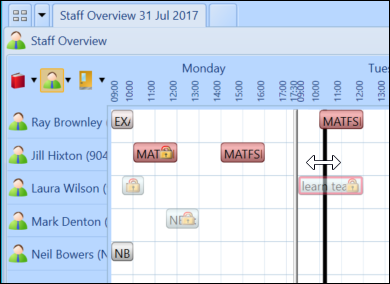
The width of the day columns in the Overview grid can be changed by clicking on any of the vertical dividers between the days and dragging it left (to compress the view) or right (to expand the view). The chosen width is applied automatically to all days of the week.
A horizontal scroll bar is provided below the grid when the width of the grid exceeds that of the browser window. To fit the days of the week into the available browser width, click the Force Fit To Screen button on the Timetable Overview ribbon.

The Timetable Overview screen can show timetables for resources over anything from a single week, through a selection of weeks, to all weeks of the current session. Control the weeks shown using the Weeks field on the overview screen.

You can also use the Weeks bar at the bottom of the screen. Select multiple weeks by holding down Ctrl and right-click to select the Apply option.

You can change the day or time of an event on the Timetable Overview screen by using the click and drag function.
To change the day or time of an event on the Timetable Overview screen:
-
Select the event you want to change.
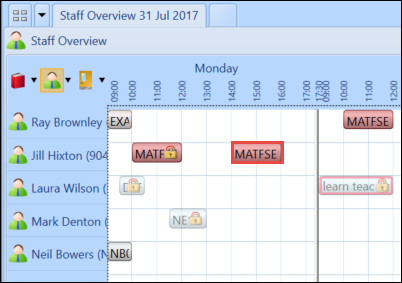
-
Drag the event into the new day/time slot.
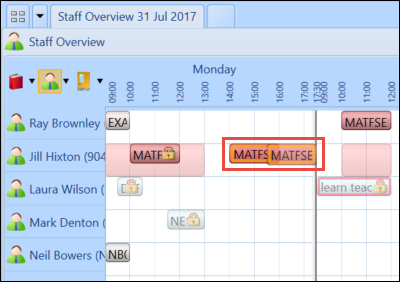
The change will be saved automatically.
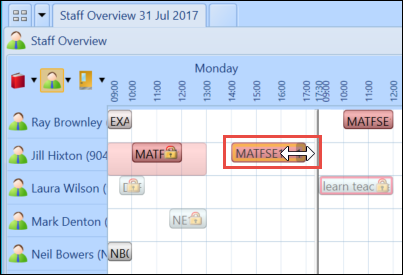
You can also extend or reduce the time of an event by clicking and dragging either the start or end of the event to the required time slot.
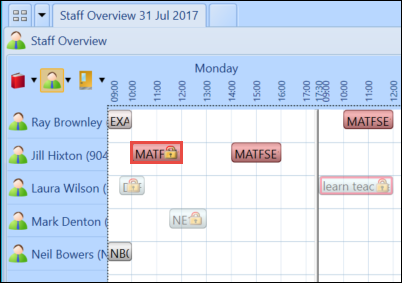
Unless you have the Registers Superuser role, when the register has been marked you will no longer be able to edit the day or time of the event and the event will be displayed with a padlock. If the register event is locked for anything other than being marked, then the user will not be allowed to move the event, even with the Registers Superuser role.
Using the Timetable Overview screen allows you to quickly change the staff, room or course associated to an event, depending on the type of timetables you are viewing (for example: if you are viewing staff timetables on the Timetable Overview screen, you can quickly change the staff member associated to an event by dragging the event into the new staff member’s slot).
To change the staff, room or course associated to an event:
-
Select the event you want to edit.

-
Drag the event into the relevant slot against the new staff member.
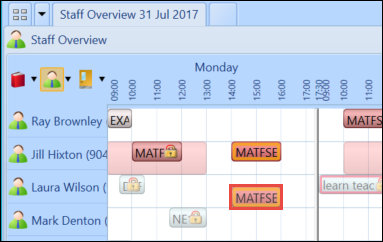
The event will automatically be updated and saved with the new staff member.
Unless you have the Registers Superuser role, when the register has been marked you will no longer be able to edit the day or time of the event and the event will be displayed with a padlock. If the register event is locked for anything other than being marked, then the user will not be allowed to move the event, even with the Registers Superuser role.
If your institution has the Allow Clashes institution setting set to Y, then there could be clashing events on timetables. See Allow Clashes for further information.
Using the Timetable Overview screen to resolve clashes allows you to make the necessary amendments to clashing events while viewing the usage of other staff, rooms or courses to ensure the timetables are balanced.
To resolve timetable clashes:
-
Select the event you want to resolve.
Clashing events will be highlighted in red.

-
Drag the event to either a new day/time slot or into another staff, room or course slot. In this example the clashing event has been moved into another slot which means the staff member on the event has been changed to resolve the clash.
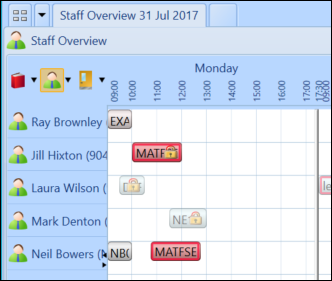
When you begin to drag the clashing event into a new slot you will see that any some of the slots on the timetable overview will become red; this indicates that moving the clashing event here would still result in another clash.
When the register has been marked you will no longer be able to edit the day or time of the event. The event will be displayed with a padlock.