You can match fees to receipts so that you can track the payments that are associated with specific receipts on the Receipts tab.
From the Receipts tab, you can:
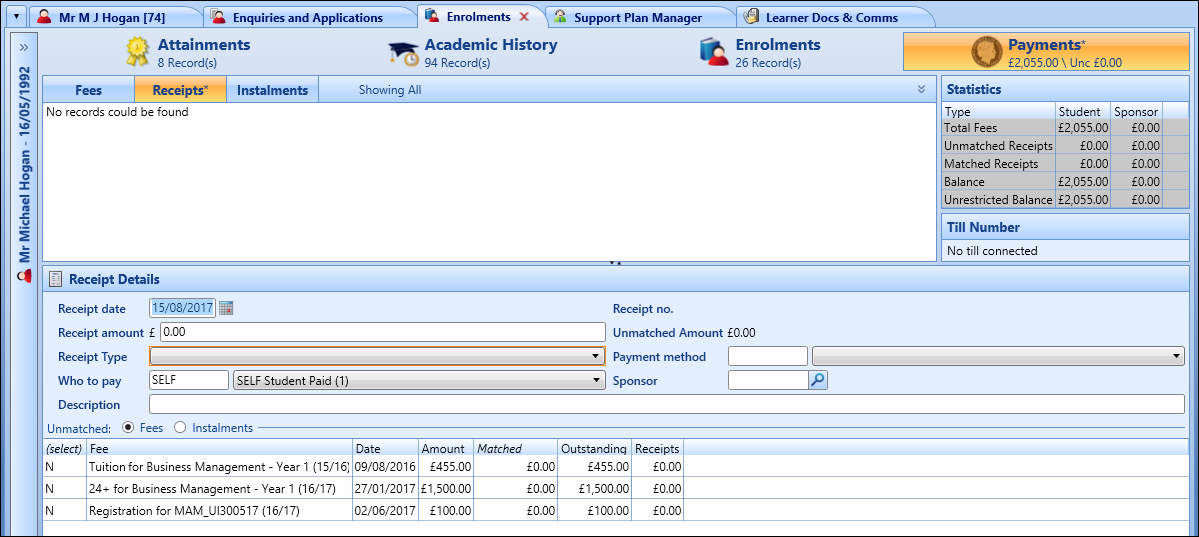
To match fees to a receipt:
-
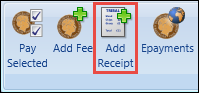
Select the Add Receipt button on the Payments ribbon to create a receipt.
The Receipts tab is displayed.
-
Select in the (select) column for the required fee, to turn the N to Y .

- Enter the required details in the Receipt Details section.
-
In the Matched column, enter the amount to match against the fee.

-
Select Save to confirm the changes.
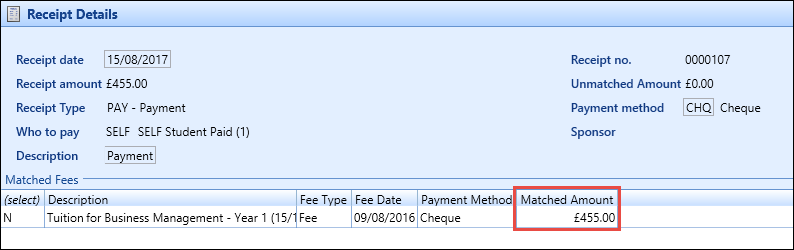
The fees are matched to the receipt and displayed at the bottom of the Receipt Details section.
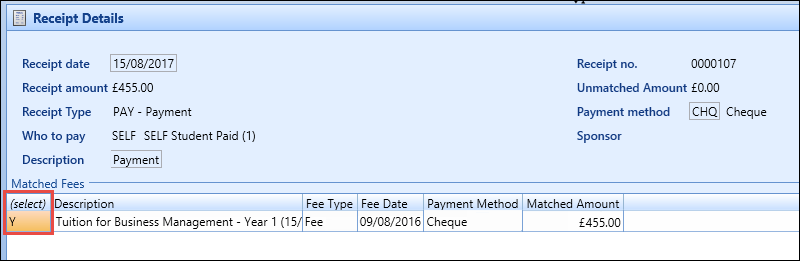
To unmatch a fee that has previously been matched:
-
Select in the (select) column of the required receipt, to turn the N to Y .

-
Select in the (select) column of the required fee, to turn the N to Y .
-
Select the Unmatch Fees button on the Payments ribbon.

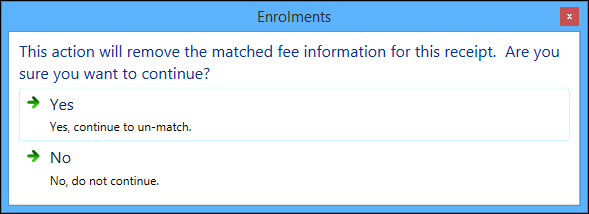
The following message is displayed.
-
Select Yes to unmatch the fee and the receipt.
The fee is unmatched.
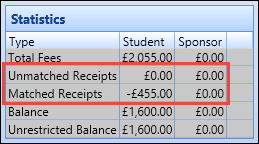
The Unmatched Receipts and Matched Receipts fields in the Statistics section will automatically update to reflect the changes made.
 Important.When all the matched receipts against an enrolment are unmatched, you can make any necessary changes to the fee (that is: changing waivers).
To rematch a receipt:
-
Select in the (select) column of the required receipt, to turn the N to Y .
-
Select in the (select) column of the required fee, to turn the N to Y .
-
Select the Recalculate Fees button on the Payments ribbon.

The matched amount is automatically updated in the Matched column.
-
Select the Save button to confirm the changes.
The fee is unmatched.
The Unmatched Receipts and Matched Receipts fields in the Statistics section will automatically update to reflect the changes made.
To cancel a receipt:
-
Select in the (select) column of the required receipt, to turn the N to Y .
-
Select the Cancel Receipt button on the Payments ribbon.

The Cancel Receipt window is displayed.
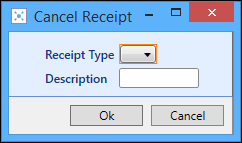
- In the Receipt Type field, select the required receipt type.
- In the Description field, enter a description.
-
Select OK .
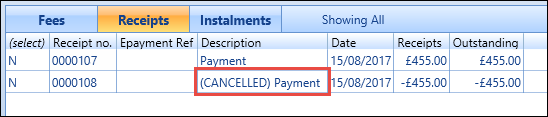
The receipt record is updated to display 'Cancelled' in the Description field.
-
Select the Save button to confirm cancelling the receipt.
The receipt is cancelled.
To delete a receipt:
-
Select in the (select) column for the required receipt, to turn the N to Y .
Important.You can only delete one receipt at a time.
-
Select the Delete Receipt button on the Payments ribbon.

The following message is displayed.
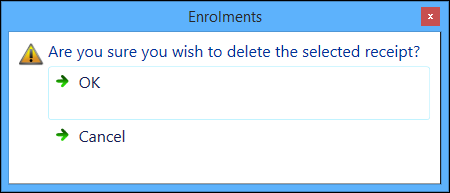
-
Select OK to confirm deletion of the receipt.
The receipt record is deleted.