You can manage ePayments using the Payments screen in the Enrolments module.
When you have enrolled a learner onto a course that has fees attached, you can see the amount of fees due on the Payments tab.

The total value of any unconfirmed payments is displayed on the Payments tab. This is prefixed with ‘Unc’.
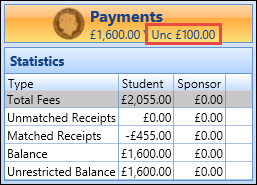
To display the Payments screen, click the Payments tab in the Enrolments module.

The Payments screen is displayed.
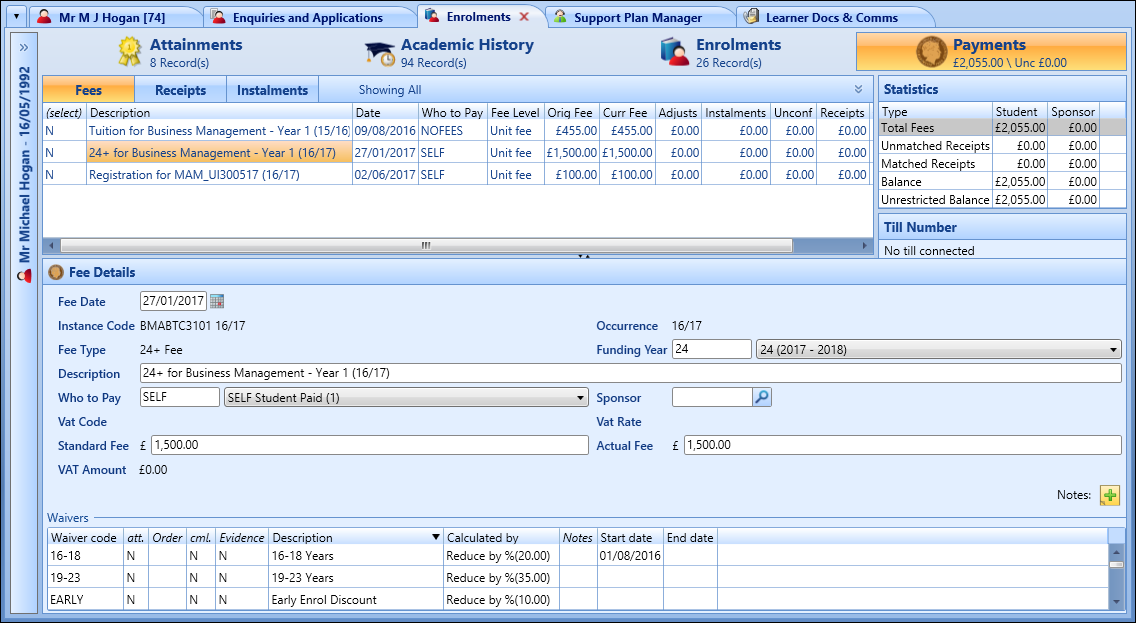
The Fees tab is displayed by default. This displays fee records for the outstanding amounts for the current course. If your PC is set up as a till, the till number is also displayed.
ePayments are processed using an interface built into the Enrolments module. When you pay fees using the ePayment method, saving the corresponding receipt details will then direct you to the ePayments interface.
Learners can also self-enrol on courses and provide payment for course fees when using Learner Portal or ebs: ontrack Learner Hub.
From the Payments screen, you can:
- Select the required fees in the Fees grid.
-
Click the Pay Selected button on the Payments ribbon.

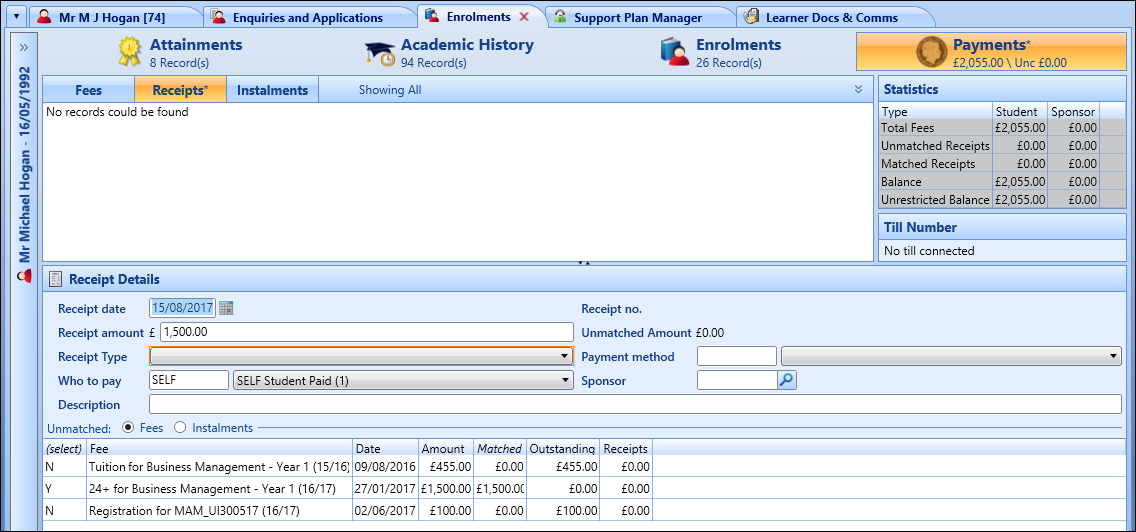
The Receipts tab is displayed.
-
Enter the required details in the Receipt Details section.
You must select a payment method of ePayment in the Payment Method field.

-
Click the Save button.
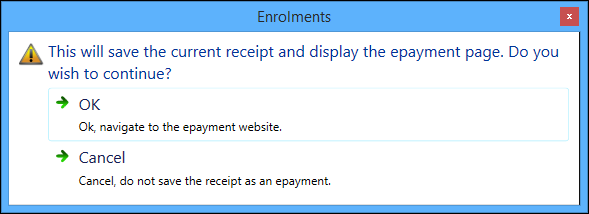
The following message is displayed.
-
Click OK.
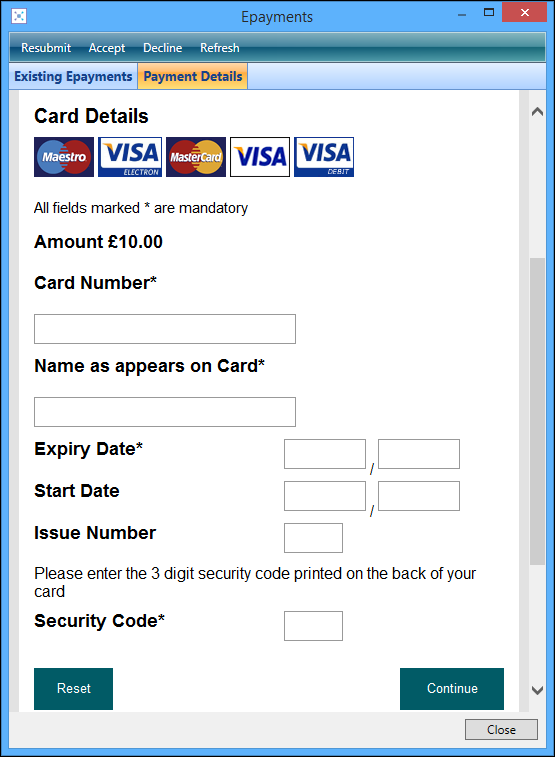
The Epayments window is displayed. The Payment Details tab is displayed by default, which shows the payment page of your online payment provider. For example:
-
Enter the required payment details, and then submit the payment.
If the payment is successful, the Payment Details tab will refresh and display the appropriate message.
A receipt is created and displayed in the Receipts grid, with a new receipt number and ePayment reference in the relevant fields.

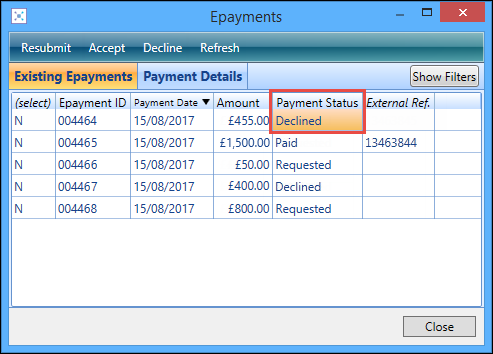
You can view paid, declined, and requested (that is: submitted but not yet authorised by the card issuer) ePayments. These are displayed on the Existing Epayments tab of the Epayments window.

The Existing Epayments tab of the Epayments window is displayed by default.
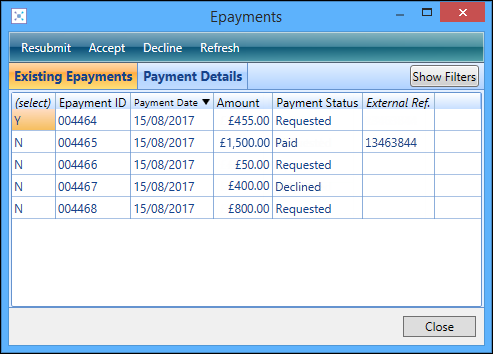
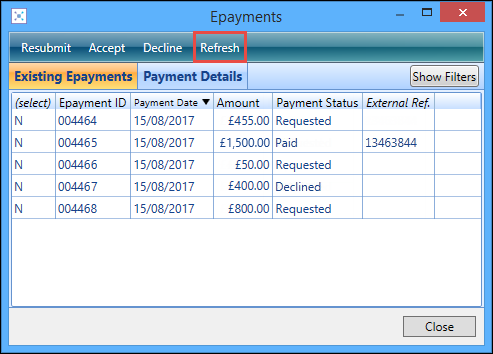
After an ePayment has been submitted, you can periodically check the status of existing ePayments. Click the Refresh button for any existing ePayments.
To resubmit an ePayment (for example: an ePayment transaction that was started but not completed):
-
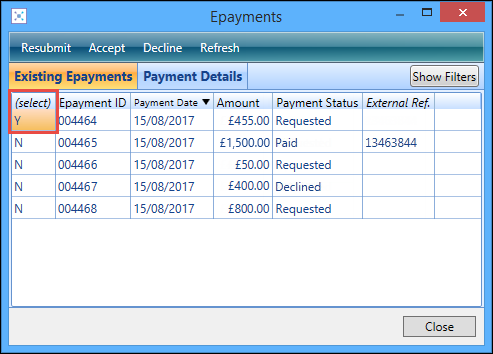
From the Existing Epayments tab of the Epayments window, click in the (select) column of the required ePayment, to turn the N to Y.
You can only resubmit one ePayment at a time, and those with a status of 'Requested'.
-
Click the Resubmit button.
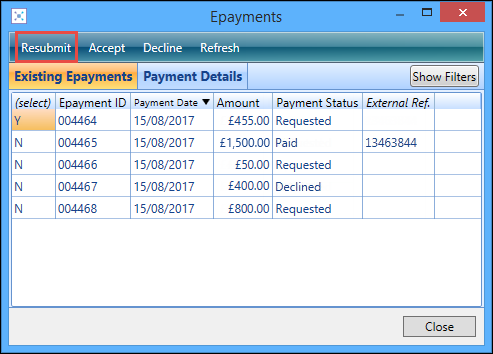
The Payment Details tab is displayed, which shows the payment page of your online payment provider.
-
Enter the required payment details, and then submit the payment.
The ePayment is resubmitted.
To accept or reject an ePayment:
-
From the Existing Epayments tab of the Epayments window, click in the (select) column of the required ePayment, to turn the N to Y.
You can only accept or reject ePayments with a status of 'Requested'.

-
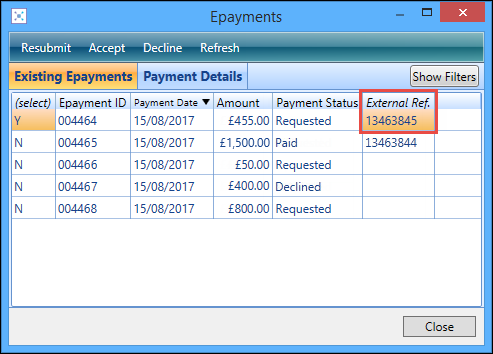
In the External Ref. field, enter the external reference received from the payment provider.
-
Click the Accept or Decline button as required.
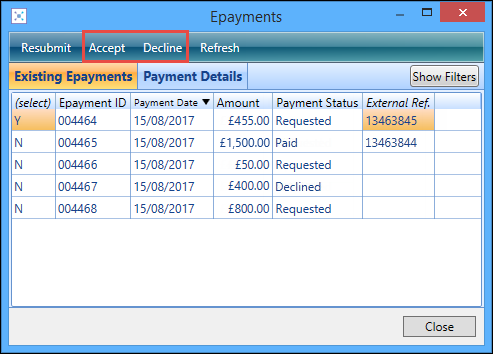
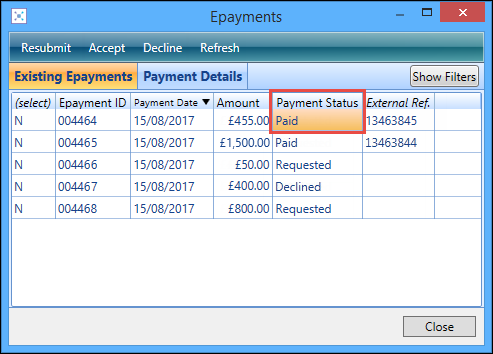
The status of the ePayment is updated accordingly:
-
ePayment accepted
A receipt is also created if the ePayment is accepted.
-
ePayment rejected
-