Ontrack Changes for 4.40
The following changes have been made for 4.40:
Ontrack Parent Hub
The learner can grant permissions for a previously existing and already confirmed user contact record. An auto generated email is received to enable parent to create a parent hub account.
Learner Details have been created.
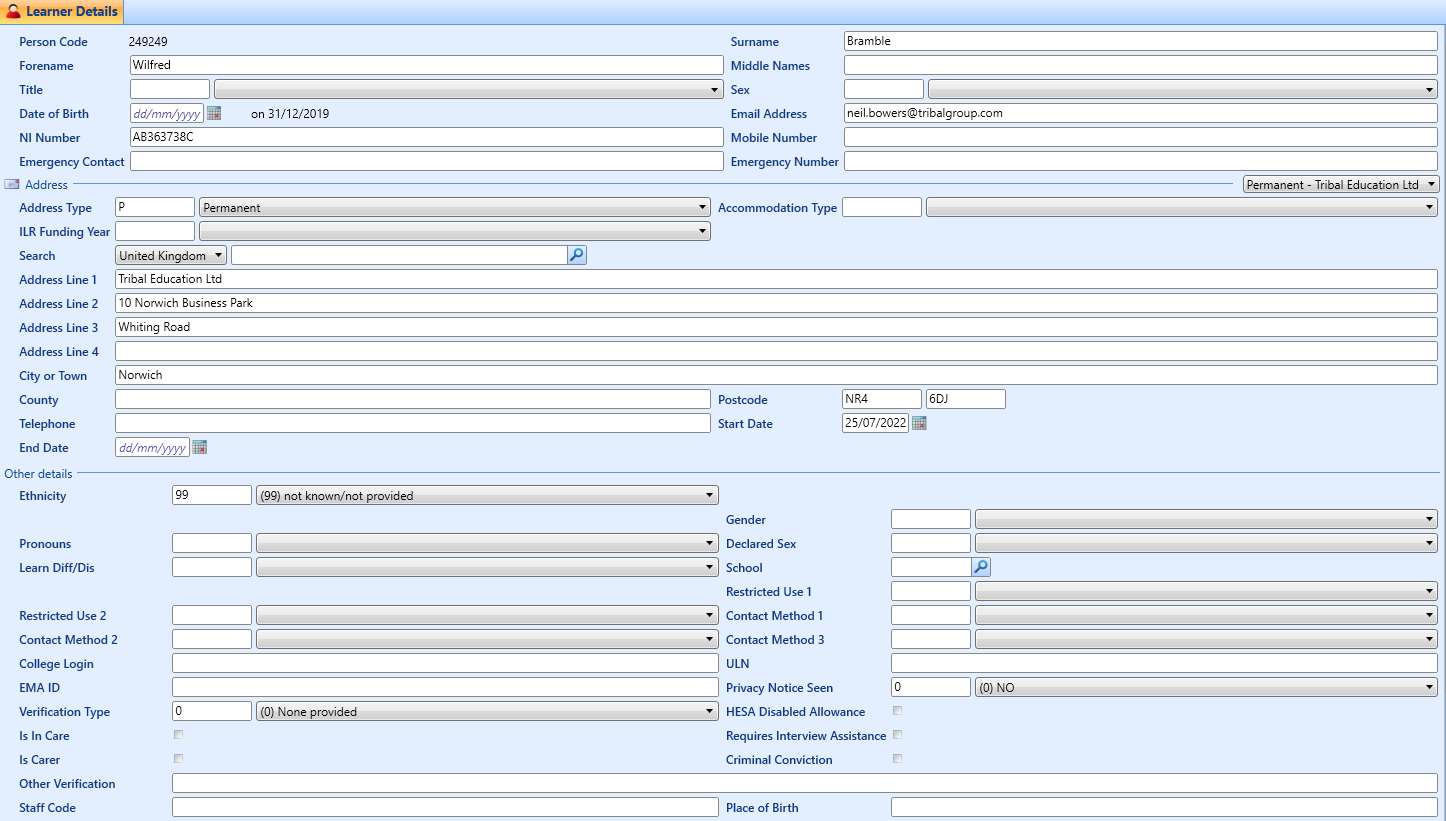
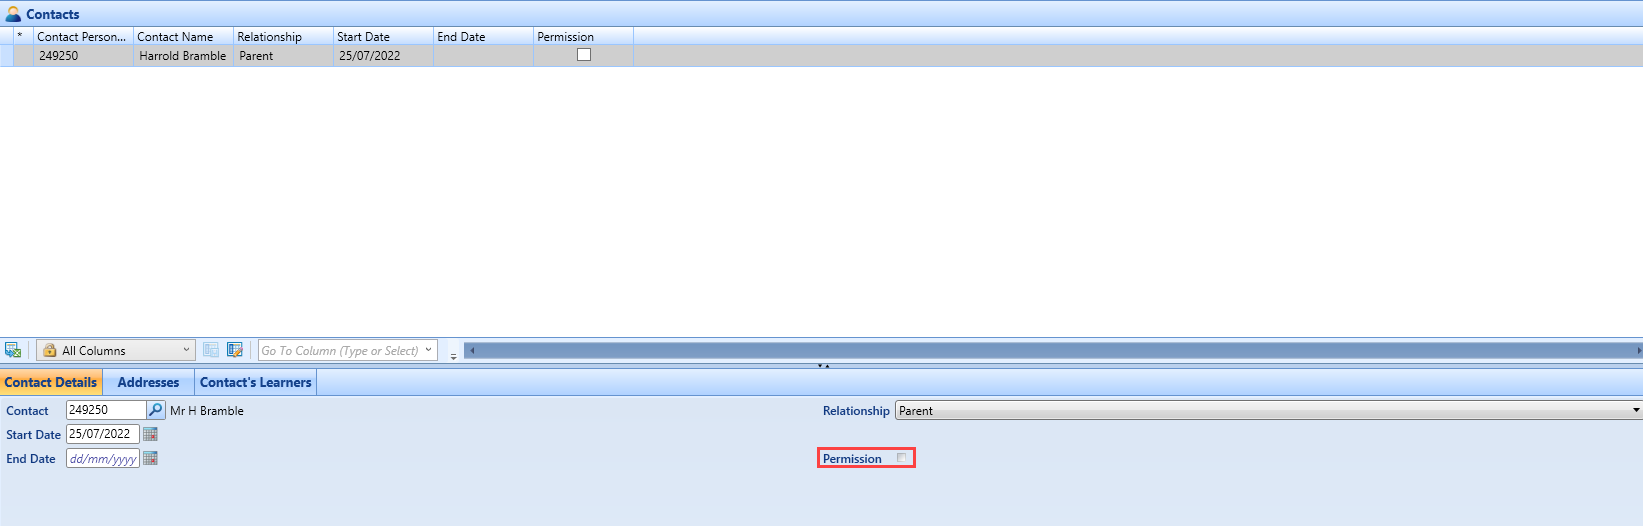
Contact details created and attached to learner where Permissions = 'N'.
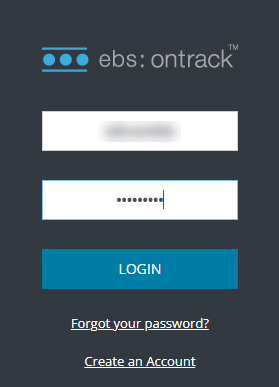
Log in to Ontrack parent Hub.
SelectAccess Permissions from the drop down.
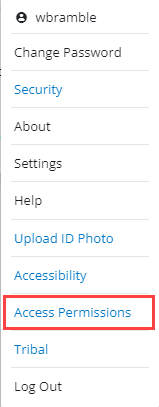
The contact can be selected from the drop down inAccess Permissions.
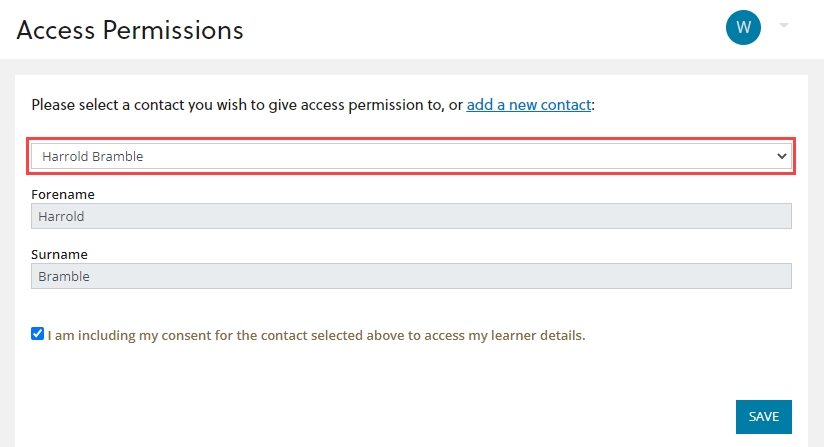
The message confirming Access Permission have been granted is displayed.

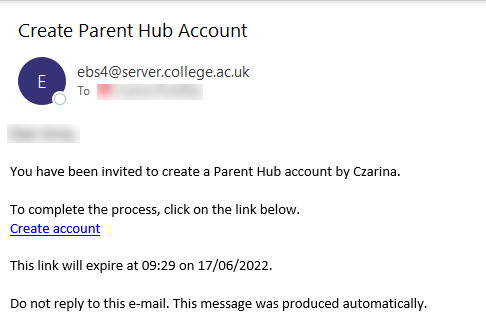
A link enabling an account to be set up in Parent Hub is received in an email.
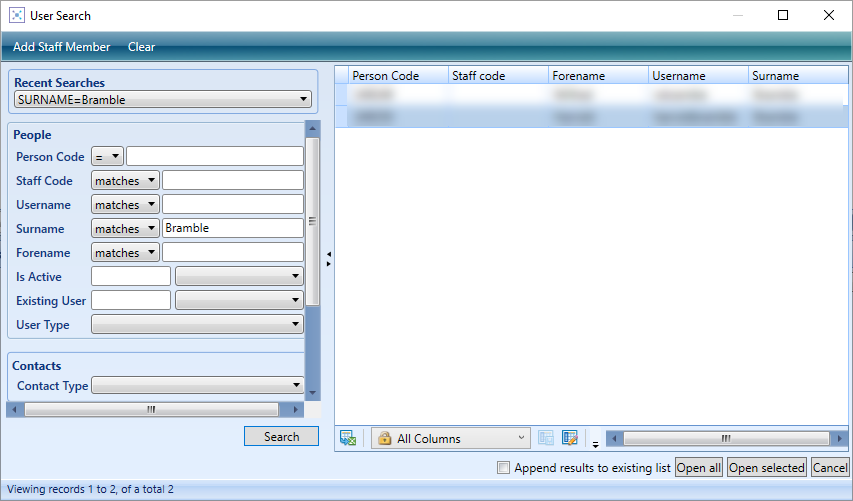
Within User Search search for the attached contact.
Within Roles / Groups the Contact with Permissions role has been added.

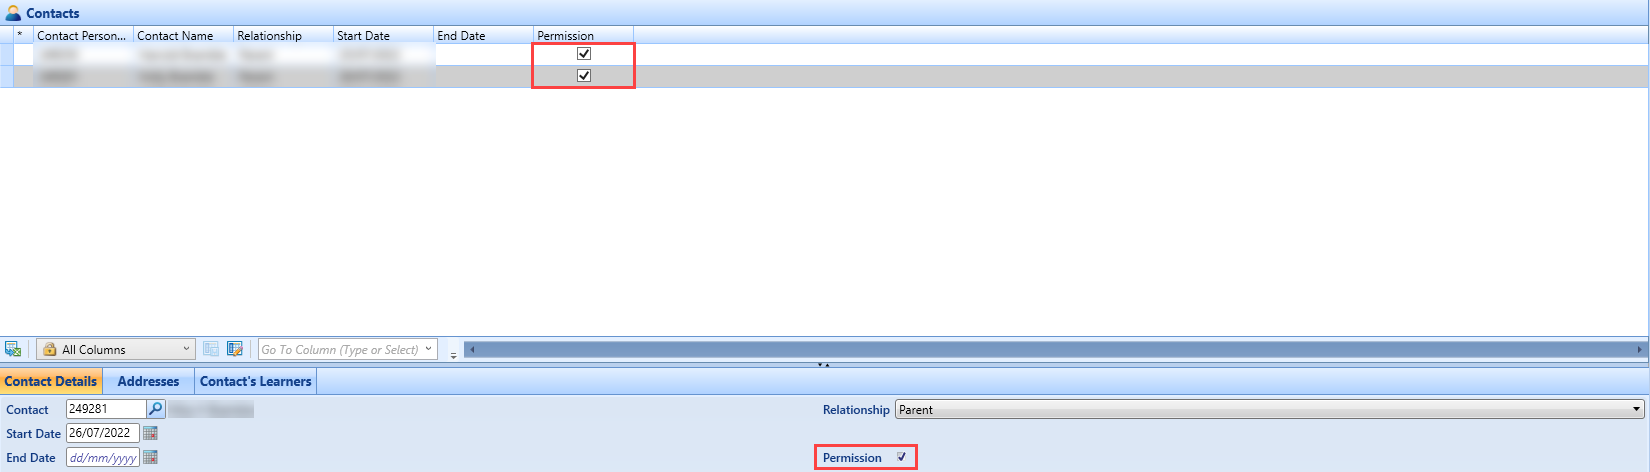
The Contacts grid now displays the contacts with the Permissions check box ticked.
Ontrack Learner Hub
Register > Email now allows apostrophe's in the email address.
Add an email address with an apostrophe into the Email field then save details.
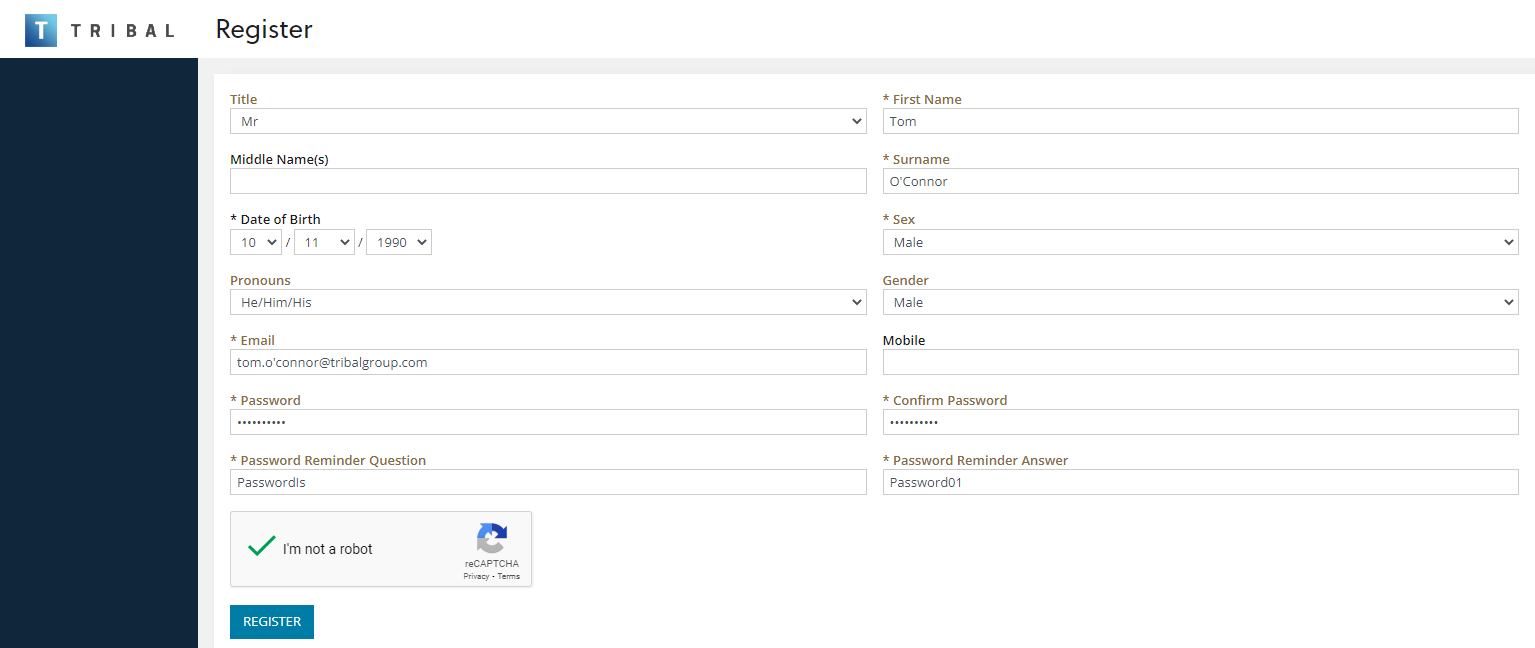
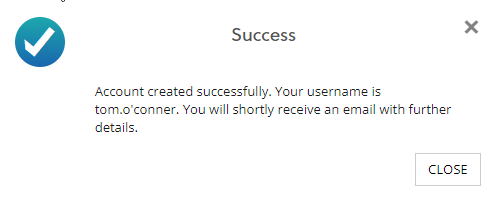
The success message is displayed.
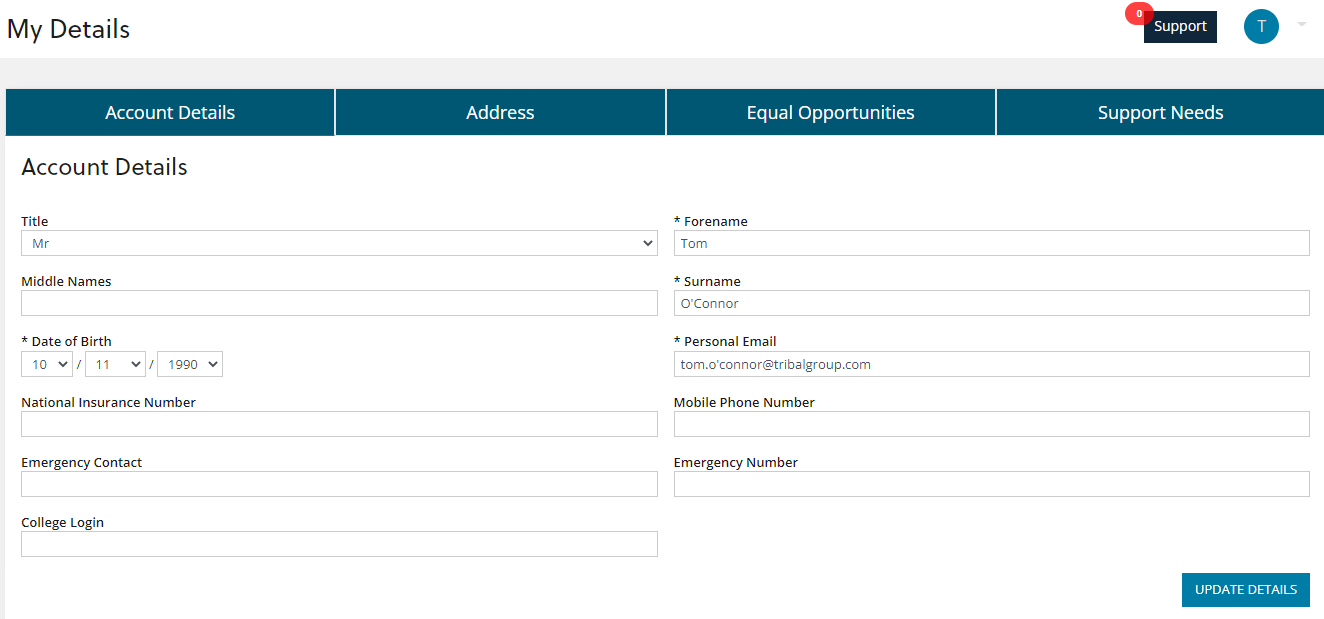
The email details have been saved and appear in My Details.
Search for the learner with a reset password.
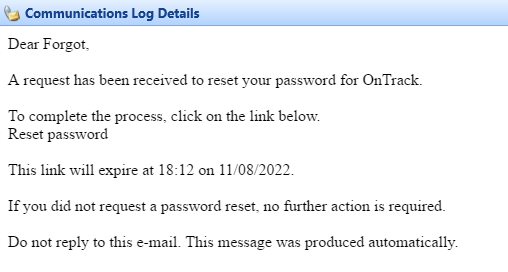
Within the Communications Log condition builder search for a Password reset Requested log.

The email details appear in the Communications Log Details field.
The Forgotten Password link has been modified to enable a user to set date of birth easily on a desktop and mobile device.
Select on the Forgot your password? link.
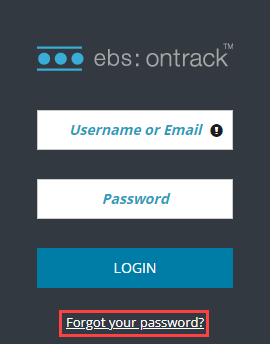
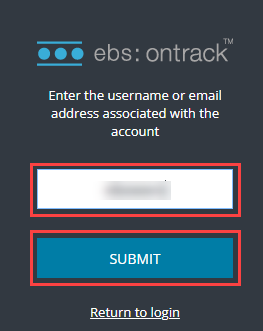
Add either Username or the Email associated with the account into the username or email field.
Check that the Reset Password email is received.
Select on the Reset password link within the email.
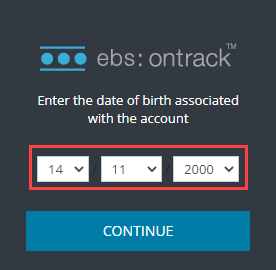
The date of birth associated with the account drop down fields are displayed.
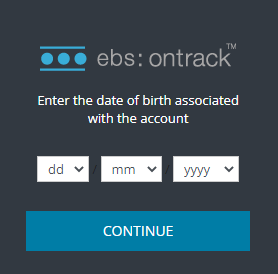
The date of birth associated with the account can be added.
Students now have access to a new inbox. This can be accessed by selecting My Support from the left hand menu.
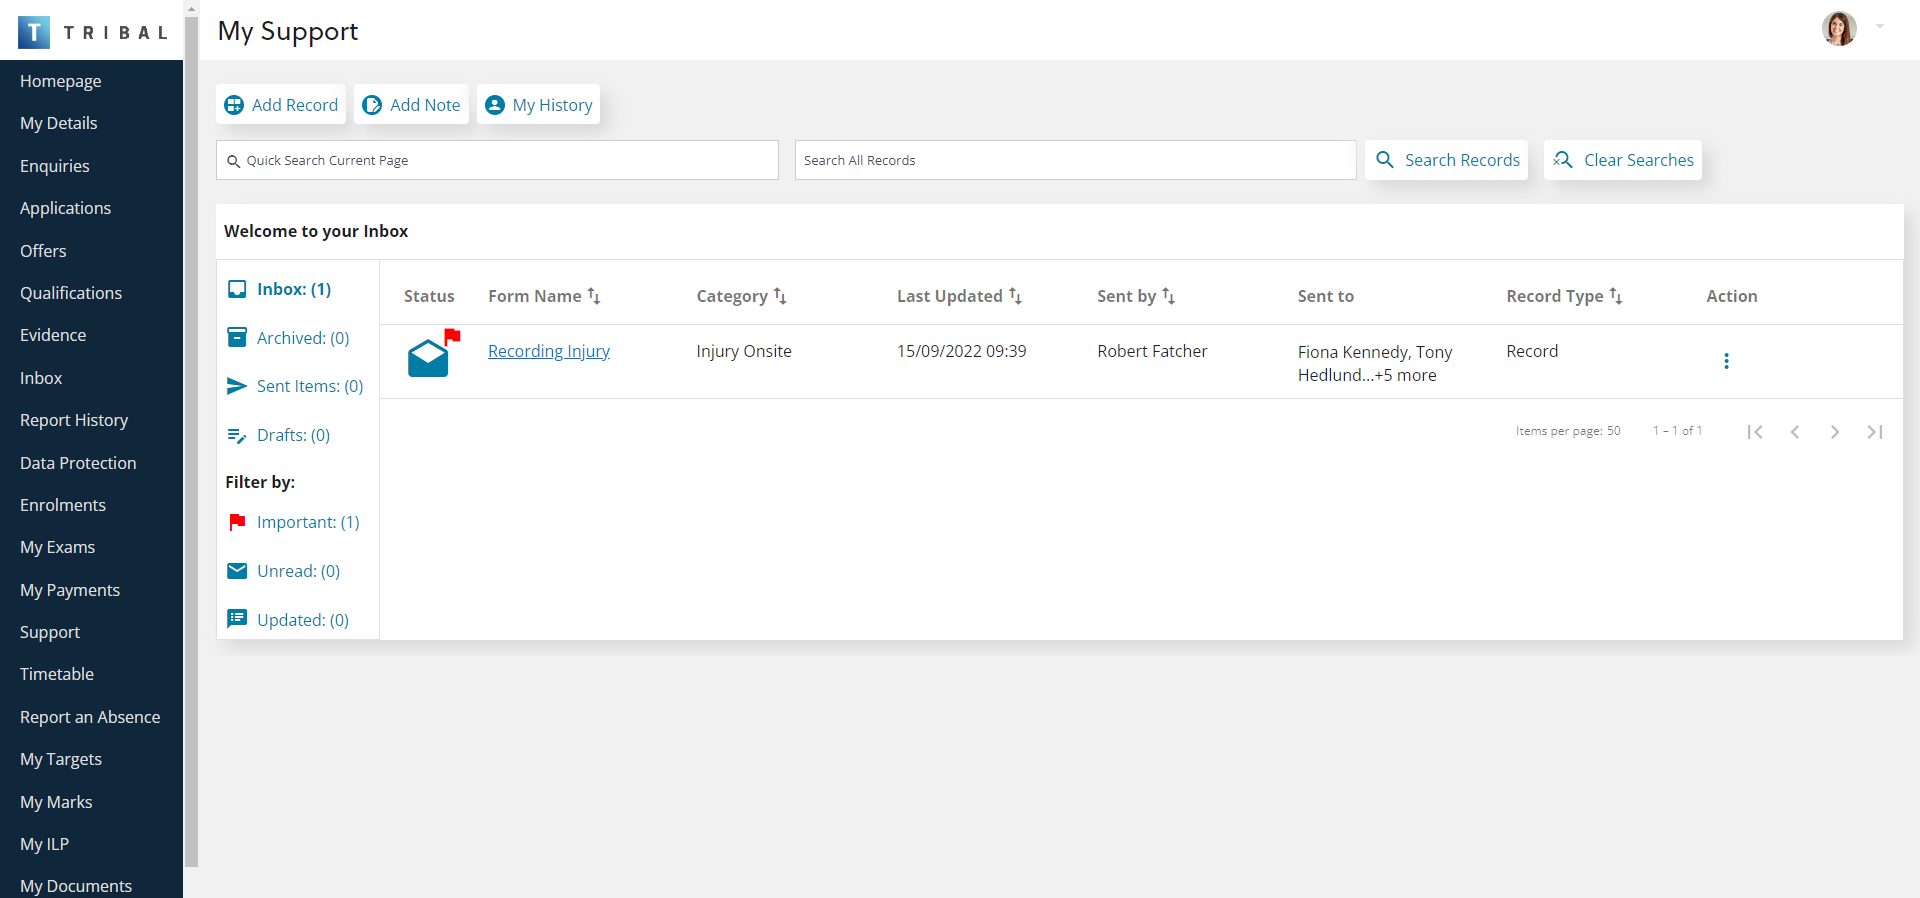
Students can use the inbox to:-
-
View messages and notes that have been shared with them.
-
Add notes or records about concerns for themselves or others.
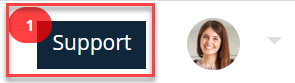
Students will also be notified on the homepage as soon as they receive any safeguarding messages. Selecting on the Support button will take them to the same page as theMy Support link in the left hand menu.
Ontrack Hub
Users with the new Safeguarding licence can access the Safeguarding Admin screen by selecting the Safeguarding Admin option in the left-hand panel in Ontrack Staff Hub.
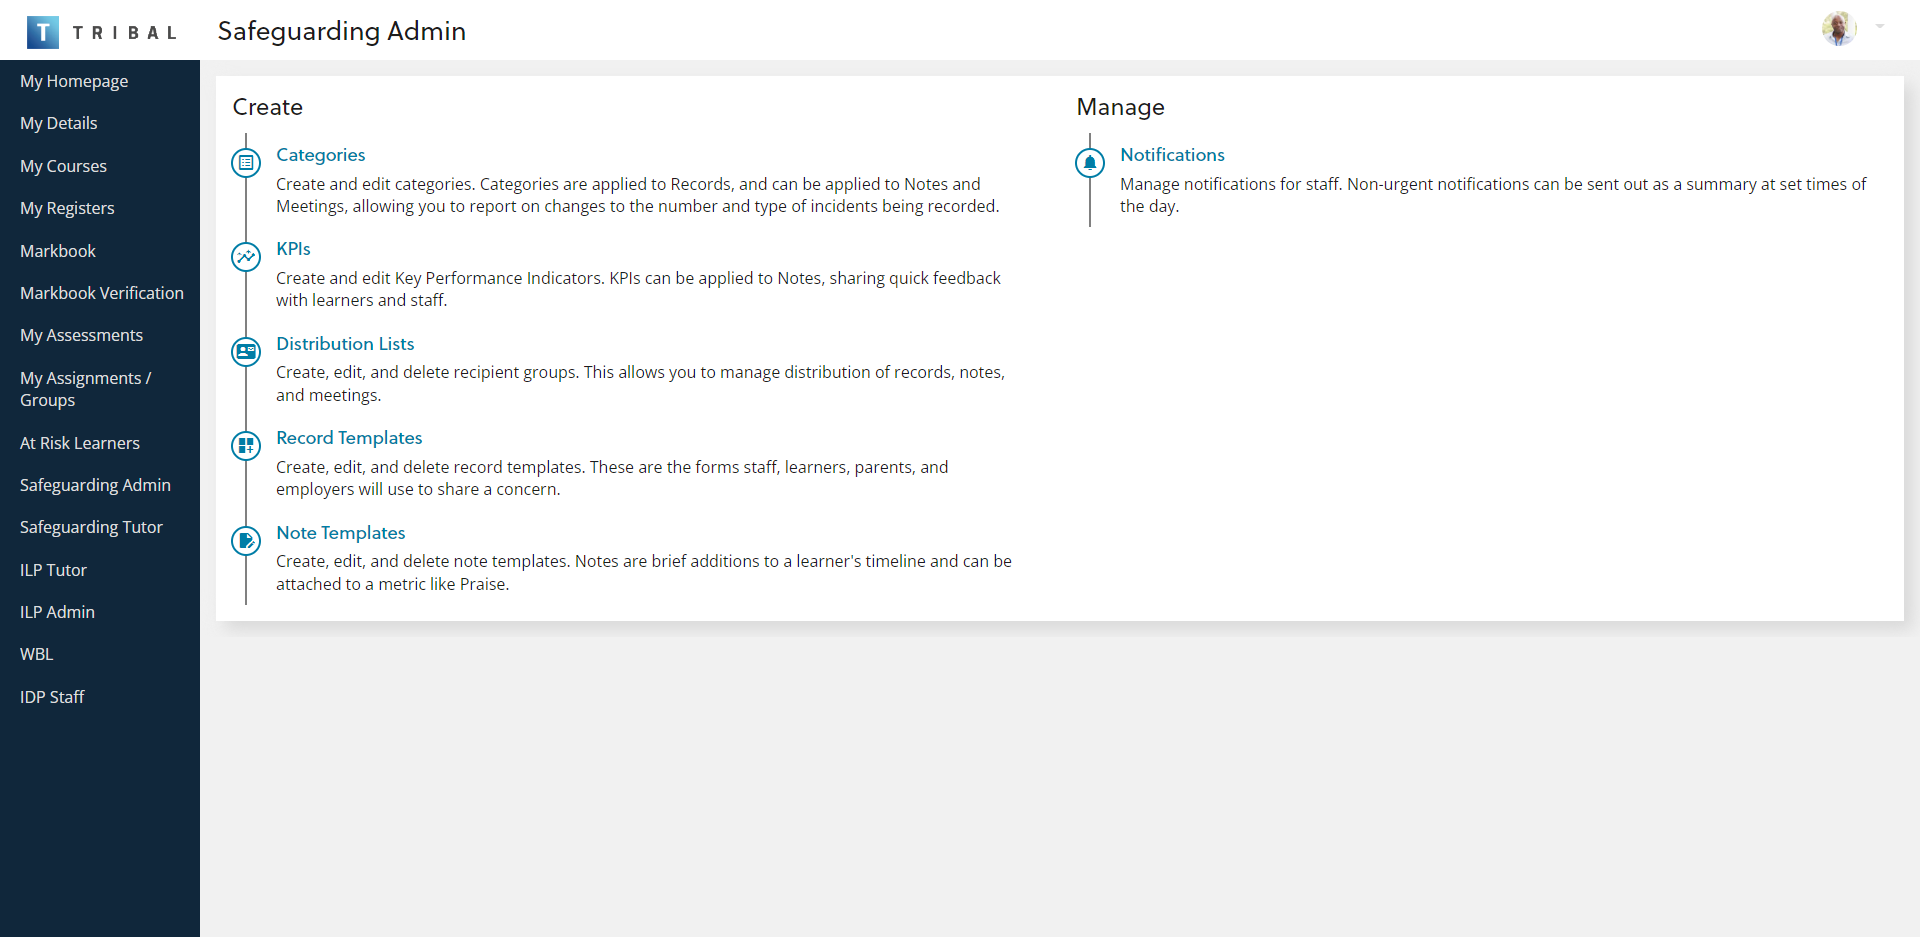
Administrators can use the Safeguarding Admin screen to do the following:
-
Create:
-
Categories - create and edit categories for records, notes and meetings.
-
KPIs - create and edit Key Performance indicators, these can be applied to notes to quickly share feedback.
-
Distributions Lists - create, edit and delete recipient groups.
-
Record Templates - create, edit and delete record templates.
-
Note Templates - create, edit and delete note templates.
-
-
Manage:
-
Notifications - manage staff notifications.
-
Tutors can access the Safeguarding Tutor screen by selecting the Safeguarding Tutor option in the left-hand panel in Ontrack Staff Hub.

Tutors can use the Safeguarding Tutor screen to:-
-
View records and notes that have been shared with them. Urgent reports will be flagged to ensure they are prioritised.
-
Add notes and records about safeguarding concerns using templates.
Tutors will also be notified on the homepage as soon as they receive any safeguarding messages. Selecting on the Safeguarding button will take them to the same page as theSafeguarding Tutor link in the left hand menu.
