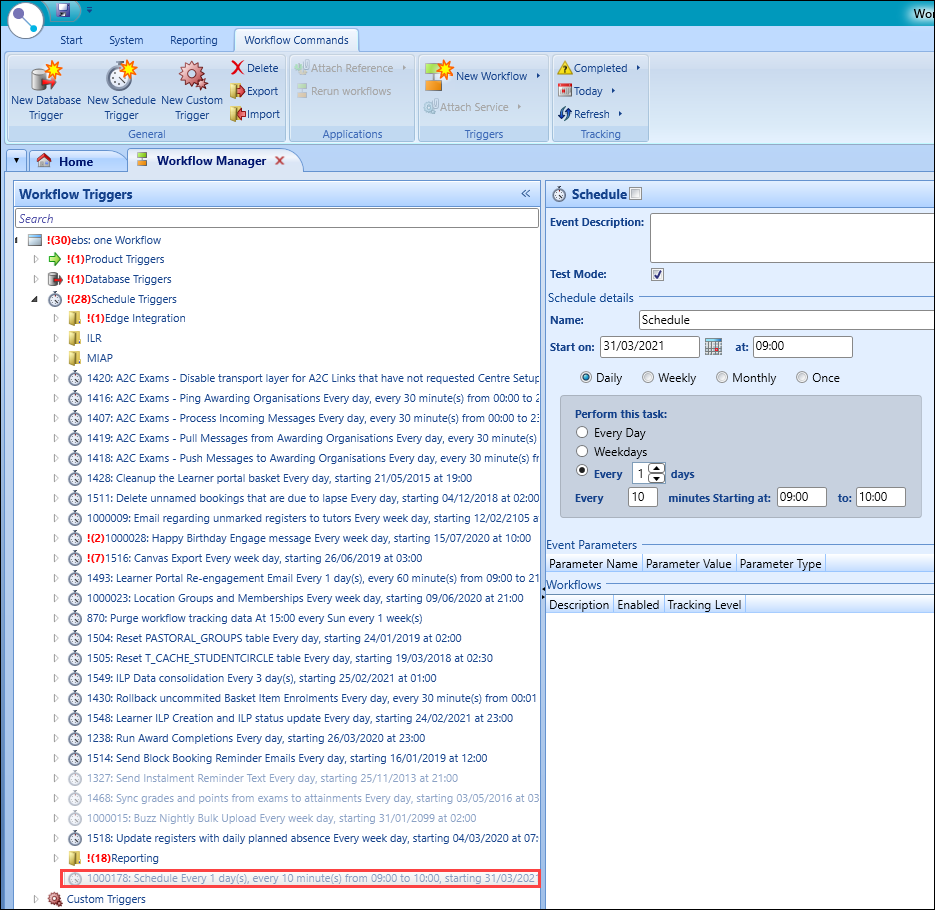
You can view and manage triggers in the Workflow Triggers panel. Workflow triggers determine what initiates a workflow and when.
A trigger can host multiple workflows. Triggers store information about the workflow and determines how and when it is initiated.
Use workflow manager to:
You can use product triggers (also known as product hooks) to submit attached workflows to the queue for processing (for example: the hook or trigger called 'Enrolment Created' is submitted when an enrolment is created within the product, initiating any associated workflows).
Standard Triggers and Workflows contains a list of triggers and workflows that may be included, depending on the licence used.
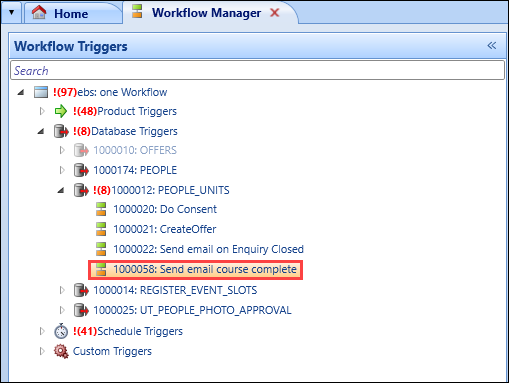
You can use database triggers to insert, update or delete records from a table within the EBS database schema.
To create a new database trigger:
-
Select and hold (or right-click) the Workflow Triggers tree and select New Database Trigger from the drop-down list.

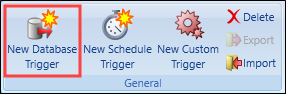
Alternatively, select the New Database Trigger button on the Workflow Commands ribbon.
The New database trigger panel is displayed.

-
Enter the details for the new database trigger in the New database trigger screen.
The following fields are available:
- Event Description - a description of the trigger
- Test Mode - whether the trigger is in test mode
- Database Details
- Table - assigns a database table for the trigger.
- Trigger types - allows you to specify whether to perform an insert, update and/or delete
- Event Parameters
- Parameter Name - the name of a parameter assigned to the trigger
- Parameter Value - the values assigned to the trigger
- Parameter Type - the parameter type
- Workflows - workflows included in the trigger
- Description - the name of the workflow
Enabled - whether the workflow is enabled
Important. Only enabled workflows can be triggered.- Tracking Level - whether the workflow can be tracked
-
Select Save .
The database trigger is saved, disabled by default.
You can schedule triggers so that tasks are automatically submitted to the queue at a specific date and time.
To create a new schedule trigger:
-
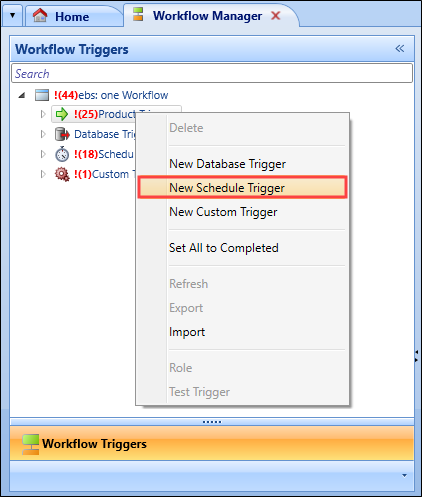
Select and hold (or right-click) in the Workflow Triggers panel and select New Schedule Trigger from the drop-down list.
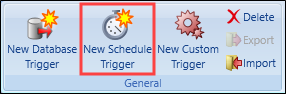
Alternatively, select the New Schedule Trigger button on the Workflow Commands ribbon.
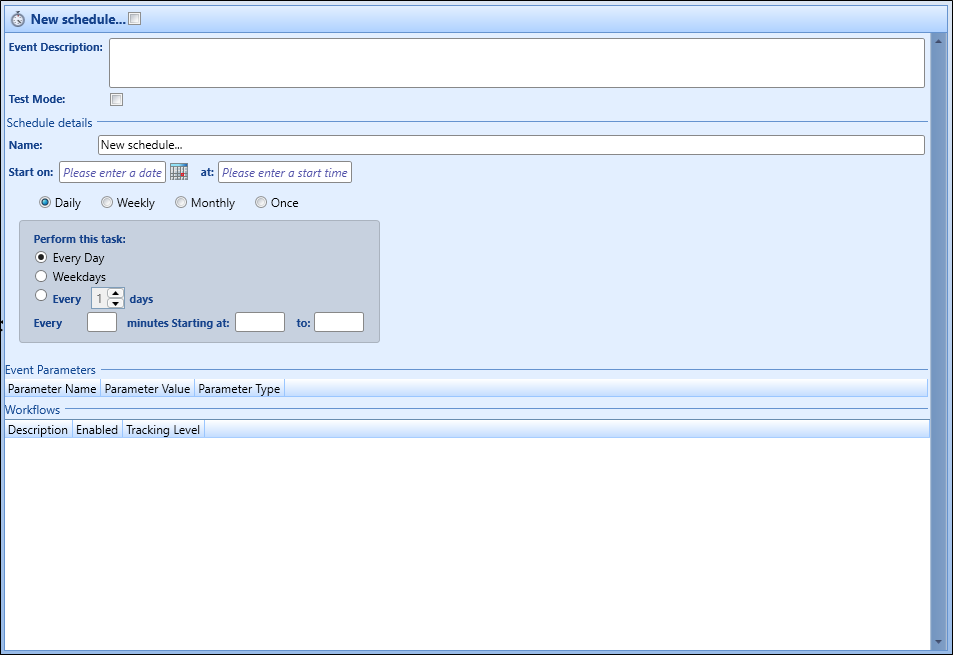
The New schedule panel is displayed.
-
Enter the details for the new schedule trigger.
The following fields are available:
- Event Description - a description of the trigger
- Test Mode - whether the trigger is in test mode
- Schedule details
- Name - the name of the new schedule
- Start on - the start date for the trigger
- at - the start time for the trigger
- Daily/Weekly/Monthly/Once - the frequency of the workflow
- Perform this task - specifies the characteristics of the task schedule
- Event Parameters
- Parameter Name - the name of a parameter assigned to the trigger
- Parameter Value - the values assigned to the trigger
- Parameter Type - the parameter type
- Workflows - workflows included in the trigger
- Description - the name of the workflow
- Enabled - whether the workflow is enabled, only enabled workflows can be triggered
- Tracking Level - whether the workflow can be tracked
-
Select Save .
The scheduled trigger is saved, disabled by default.
Standard Triggers and Workflows contains a list of triggers that may be included, depending on the licence used.
You can use custom triggers to manually submit an unplanned workflow (for example: to submit a unique task to learners to say that the institution is closed due to inclement weather).
To create a custom trigger:
-
Select and hold (or right-click) the Custom Triggers tree and select New Custom Trigger from the drop-down list.
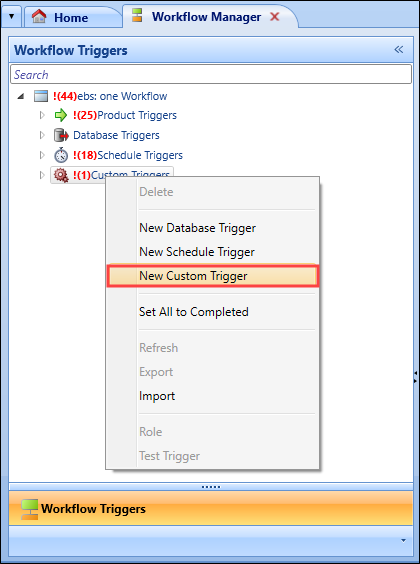
Alternatively, select the New Custom Trigger button on the Workflow Commands ribbon.

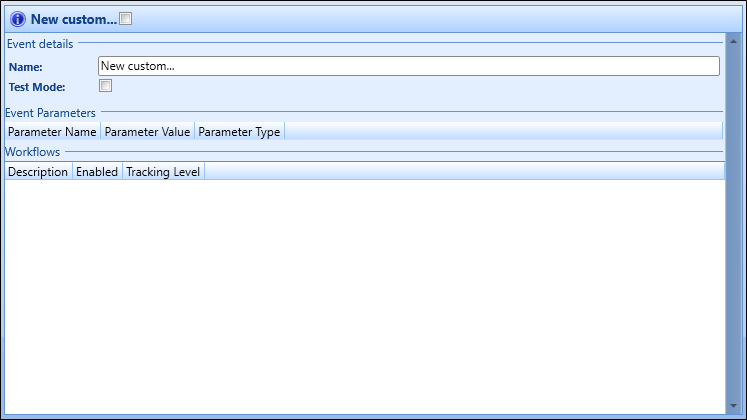
The New custom panel is displayed.
-
Enter the details for the new custom trigger.
The following fields are available:
- Event details
- Name - the name of the custom trigger
- Test Mode - whether the trigger is in test mode
- Event Parameters
- Parameter Name - the name of a parameter assigned to the trigger
- Parameter Value - the values assigned to the trigger
- Parameter Type - the parameter type
- Workflows - workflows included in the trigger
- Description - the name of the workflow
- Enabled - whether the workflow is enabled, only enabled workflows can be triggered
- Tracking Level - whether the workflow can be tracked
- Event details
-
Select Save .
The custom trigger is saved, disabled by default.
-
Select and hold (or right-click) the relevant trigger in the Workflow Triggers panel, and then select Delete from the drop-down list.

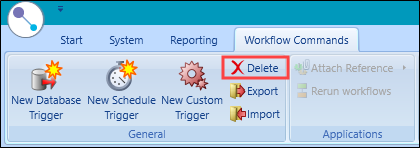
Alternatively, select the trigger and select the Delete button on the Workflow Commands ribbon.
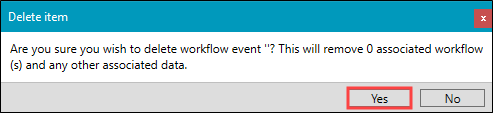
A confirmation message is displayed.
-
Select Yes .
The trigger and all associated workflows are deleted.
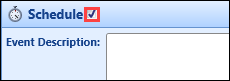
To enable or disable a trigger:
-
Select the relevant trigger.
-
Select the check-box adjacent to the trigger name to enable or disable the trigger, as required.
-
Select the Save button.
The trigger is enabled or disabled.
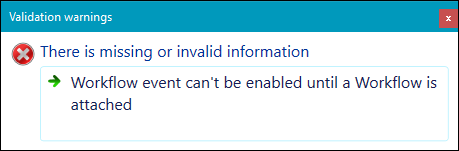
A Validation warnings message is displayed when you attempt to enable a trigger without an attached workflow.
You can use workflow conditions to restrict the behaviour of a database trigger based on values stored in a database table.
Conditions work on an If (the condition), Then, Else principle (for example: trigger a workflow when a learner completes a course, with the progress code being updated from Active to Finished).
To restrict the behaviour of a database trigger with workflow pre-conditions:
-
Select the relevant database trigger or workflow from the Workflow Triggers panel.
-
Select Attach/Edit Condition from the 'New Workflow' drop-down list.
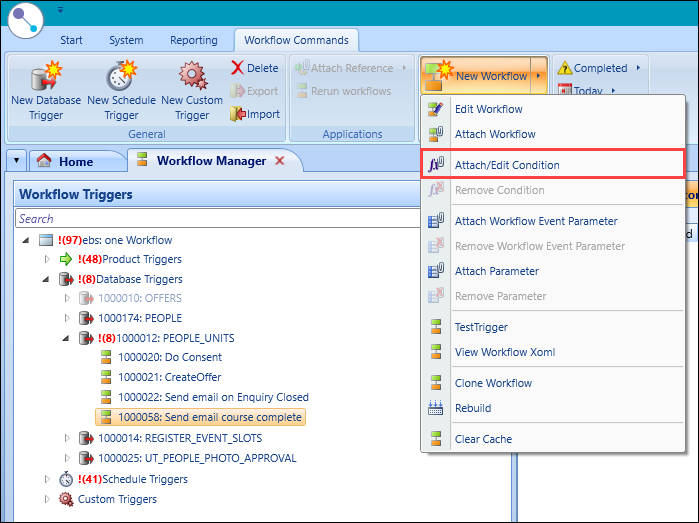
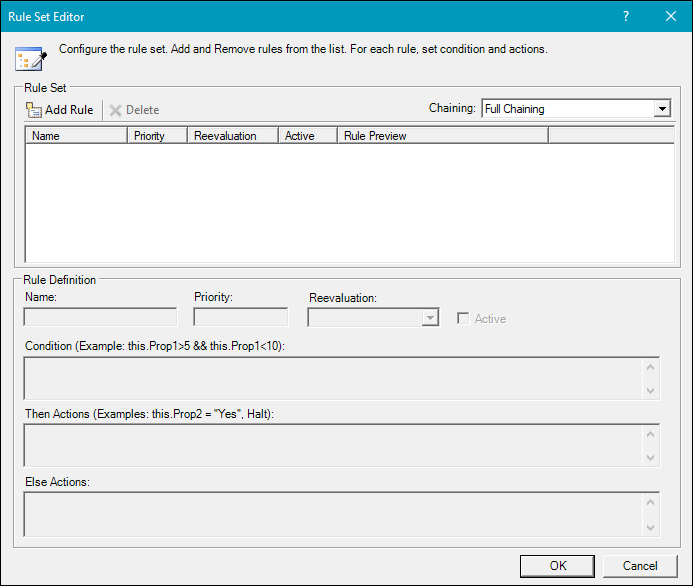
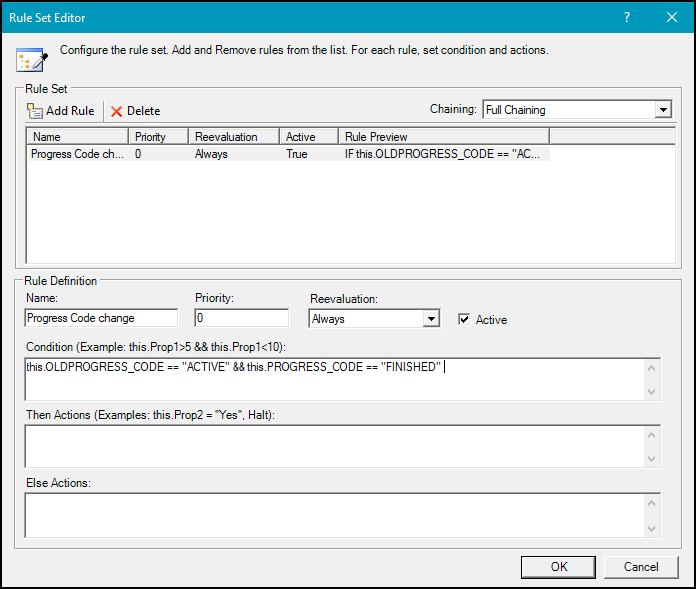
The Rule Set Editor window is displayed.
-
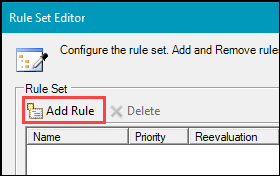
Select the Add Rule button.
-
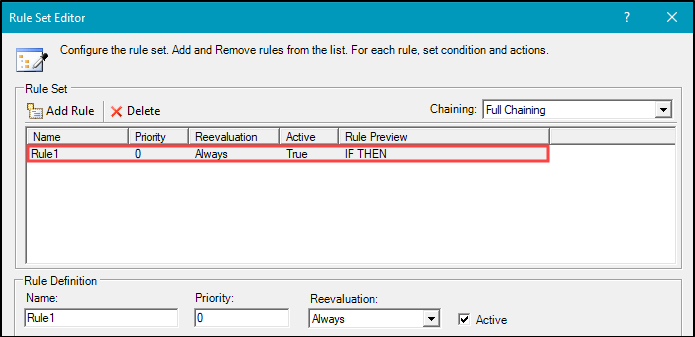
A rule is added to the Rule Set section.
-
Enter the relevant Rule Definition information:
-
Name - the rule name (for example: Progress Code change)
-
Priority - the priority of the rule, relevant when multiple rules are attached to the trigger (for example: 0 as there is only one rule in this example)
-
Reevaluation - the re-evaluation value, select from the drop-down list (for example: Always)
-
Active - whether the rule is active (for example: Active)

-
-
Enter the relevant Condition (If) information, based on C# (C sharp) syntax (for example: this.OLDPROGRESS_CODE == "ACTIVE" && this.PROGRESS_CODE == "FINISHED").
Important.You can only reference database fields included in the trigger Table field (for example: the PROGRESS_CODE field is located in the PEOPLE_UNITS table). Important. You can prefix a database table with 'OLD' to reference the previous value (for example: OLDPROGRESS_CODE).
-
Leave both the Then Actions and Else Actions fields blank for this example.
-
Select OK .
The condition is added to the workflow.
-
Select the Design tab.
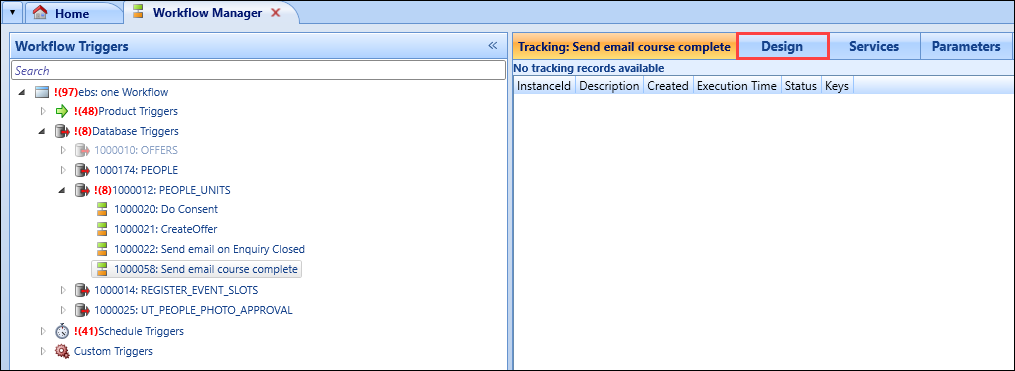
The Design tab is displayed with the condition attached condition text.
