Use the Periods screen to define the release dates of your ILPs.

It can be accessed by selecting the Periods option on the ILP Admin screen.
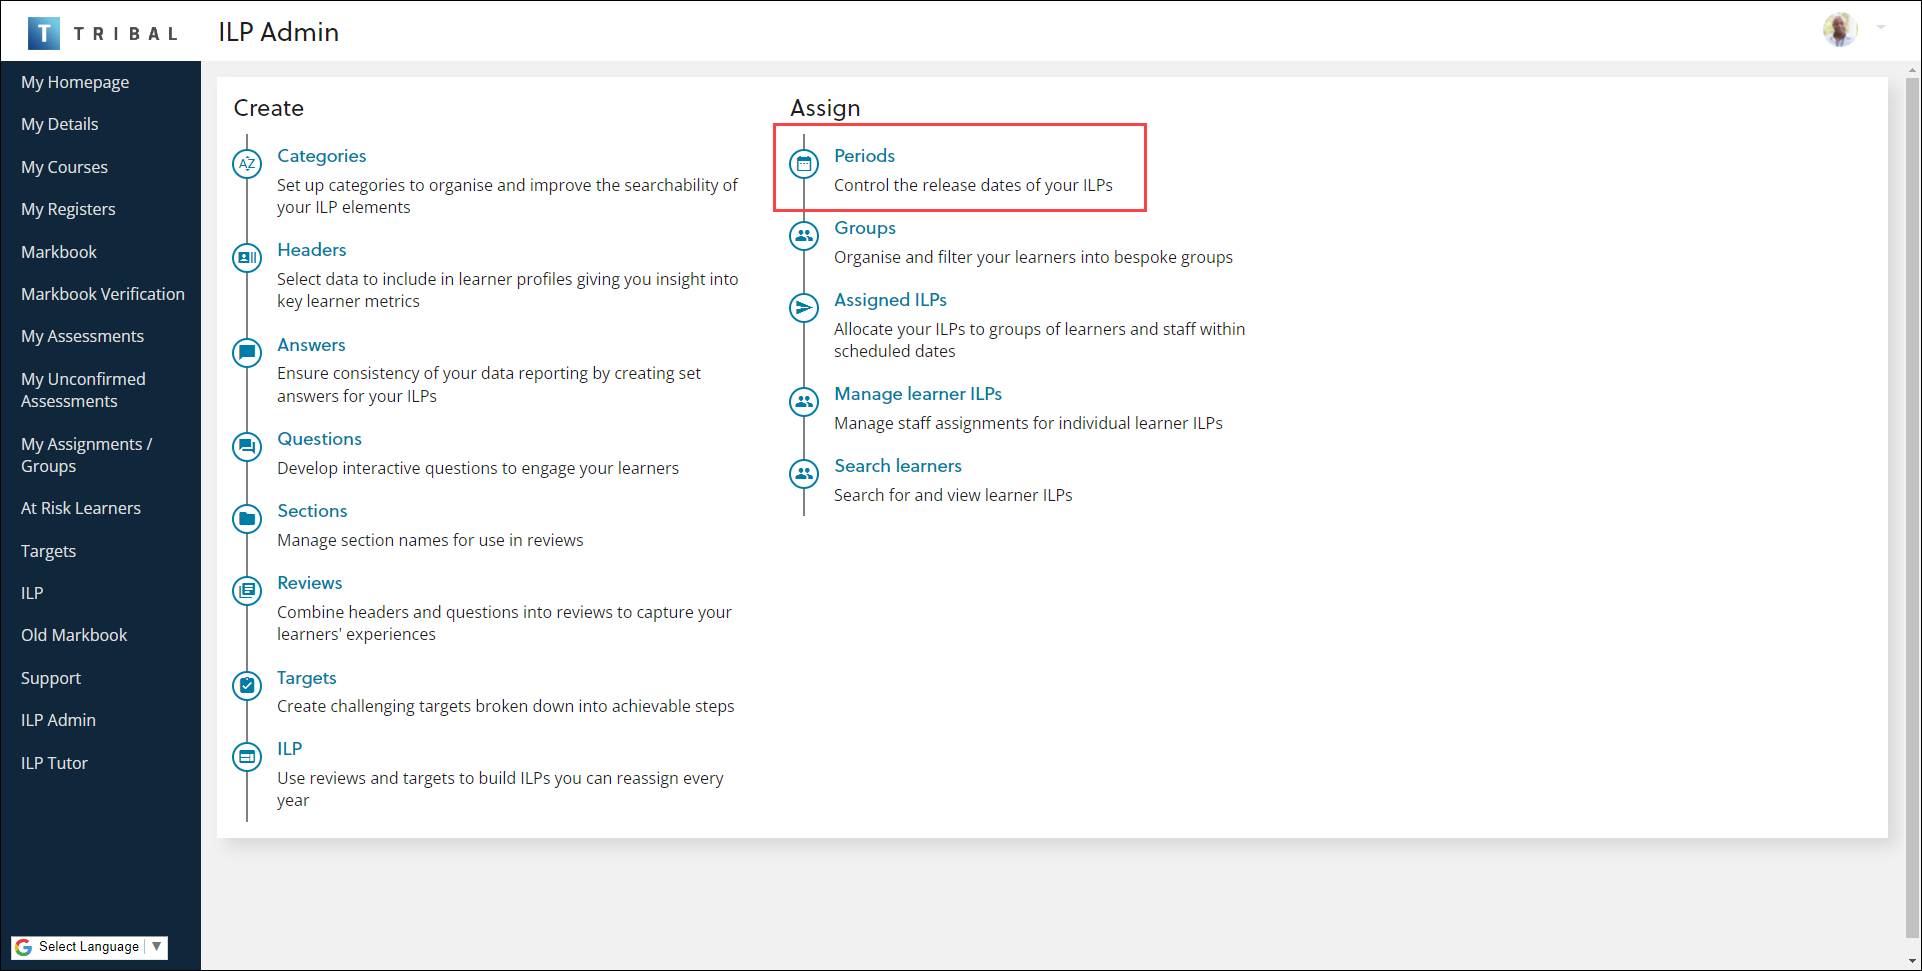
Use the Periods screen to:
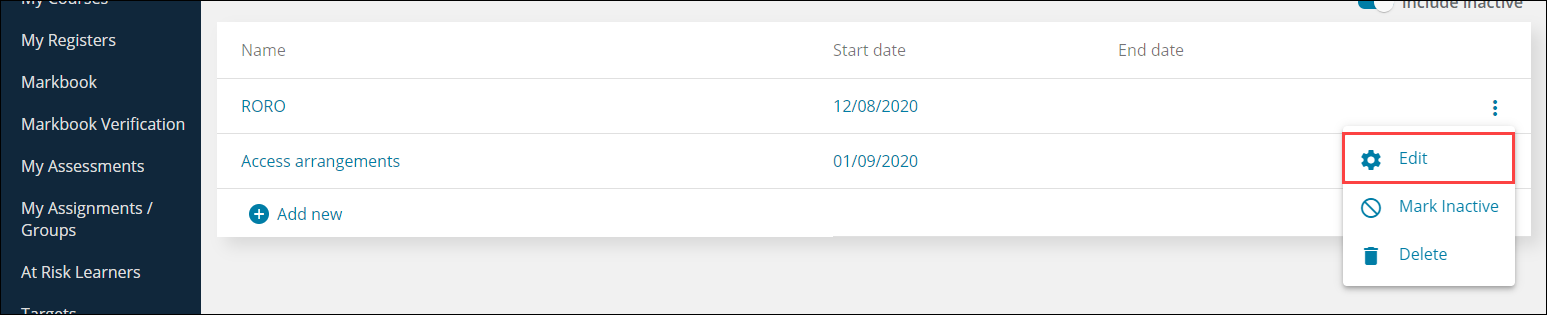
To add or edit a period:
-
Select the Add new link at the bottom of the screen to add a row to the grid.

Alternatively, select the ⋮ drop-down menu of the relevant record and then select the Edit option.
-
Enter or edit the name, start date and end date (if required) of the period. Leaving the end date blank allows you to use the period as a roll on roll off.
If a period is created with a start and end date, the end date cannot later be deleted. -
Select the Tick button to save the record.

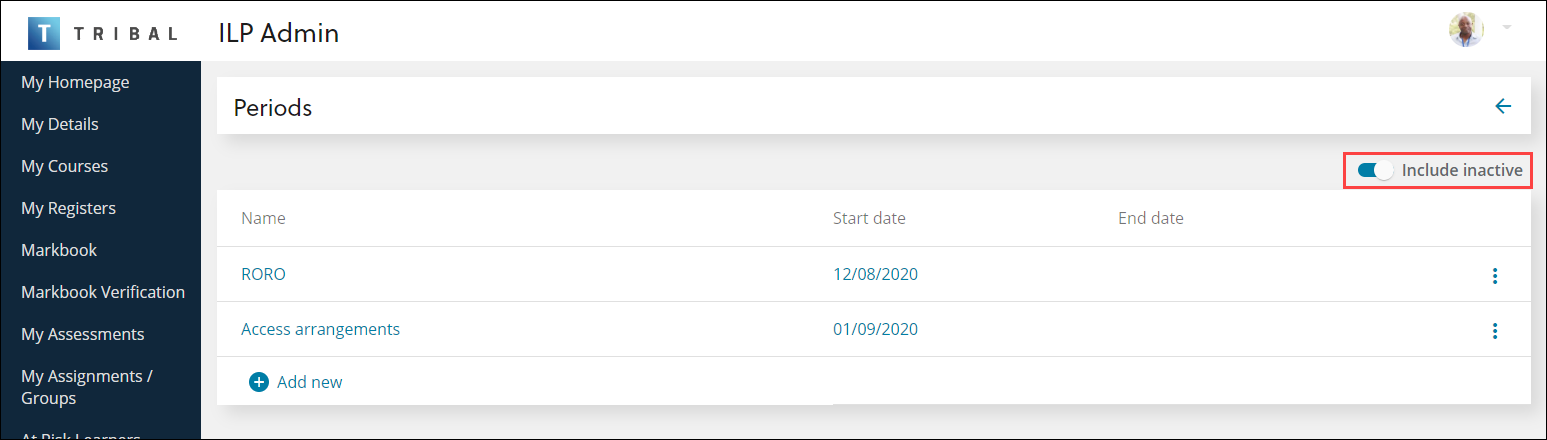
Periods can be made inactive if they are no longer in use. Inactive periods are displayed in grey, provided the Include Inactive toggle is selected.
A period that is made inactive will not be available to be selected for future use, but if it is already in use, it will be unaffected and can continue to be used.
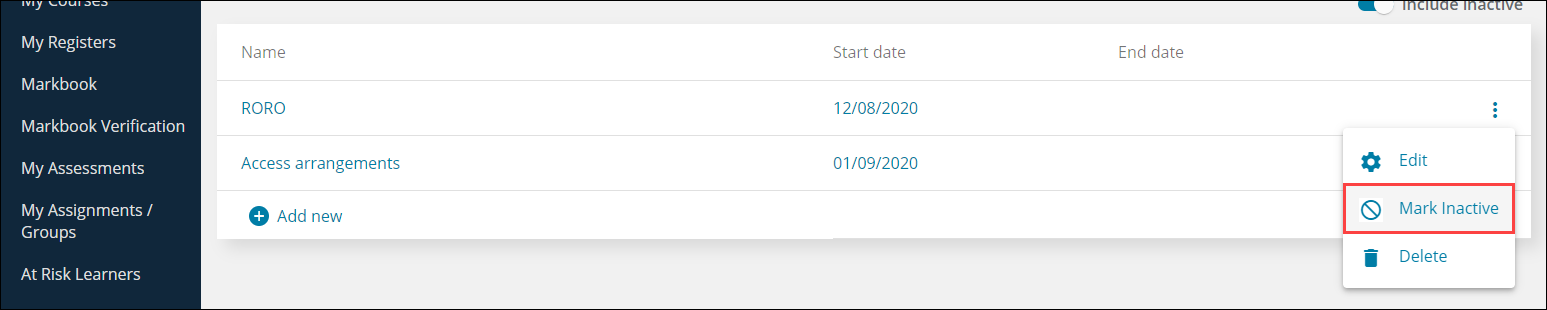
To activate or deactivate a period:
-
Ensure the Include Inactive toggle is selected if you want to activate an inactive period.
-
Select the ⋮ drop-down menu of the relevant record and then select the Mark Active or Mark Inactive option, as required.
You can only delete a period if it is not associated with any ILPs.
To delete a period:
-
Ensure the Include Inactive toggle is selected if you want to delete an inactive period.
-
Select the ⋮ drop-down menu of the relevant record and then select the Delete option.
