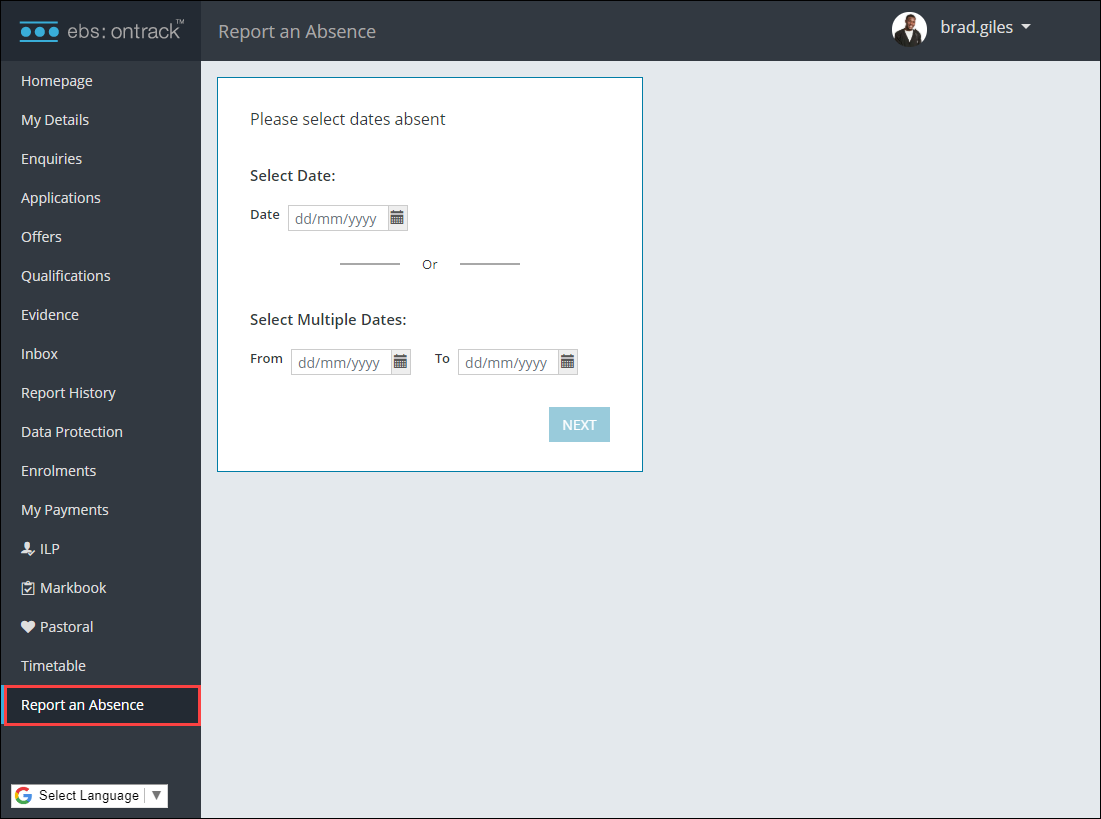
You can record your absences using the Report an Absence screen, provided it has been enabled by your institution. It can be accessed by clicking the Report an Absence option in the navigation pane.
To record an absence:
-
Do one of the following:
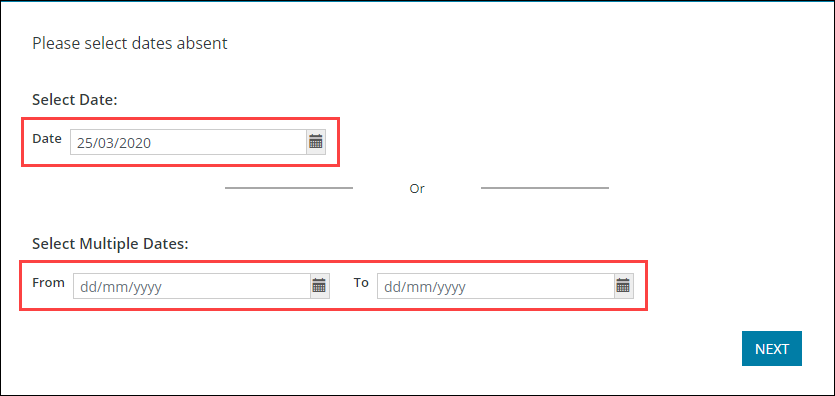
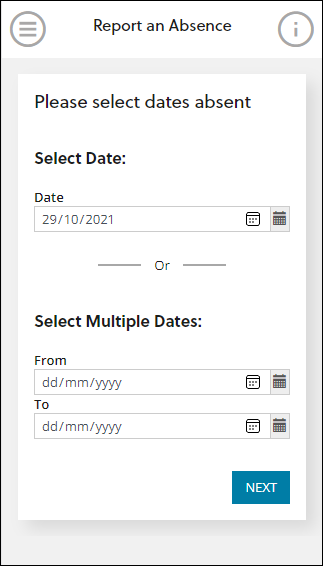
- If you were absent for one day or part of one day, select the date that you were absent.
-
If you were absent for more than one full day, select the start and end dates.
If you were absent for parts of days and then full days, record the partial day(s) and then the full day(s) separately.
-
Click Next.
-
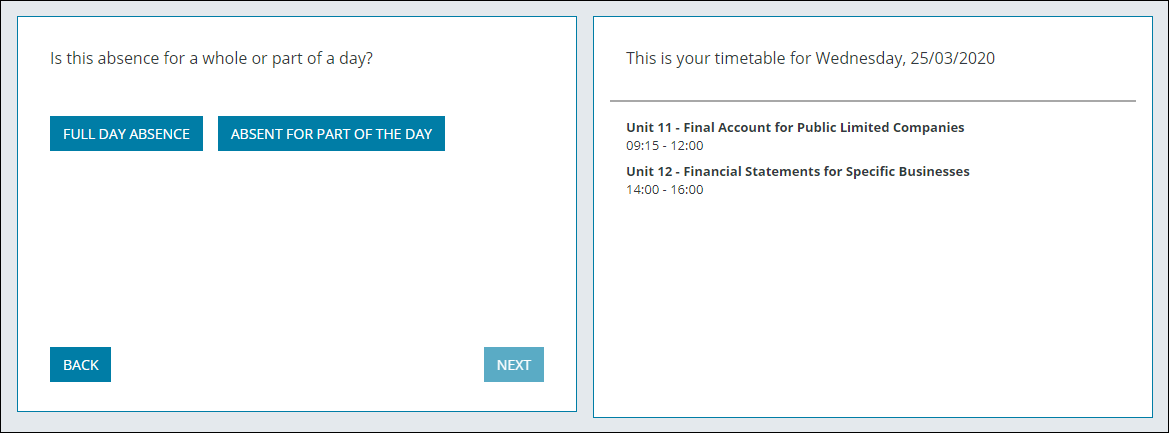
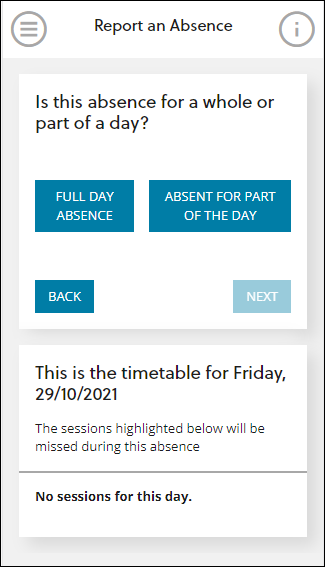
If you selected one date, the Is this absence for a whole or part of a day? screen is displayed, which also displays your timetable for the selected day.
- If you selected a start and end date, continue to step 4.
-
-
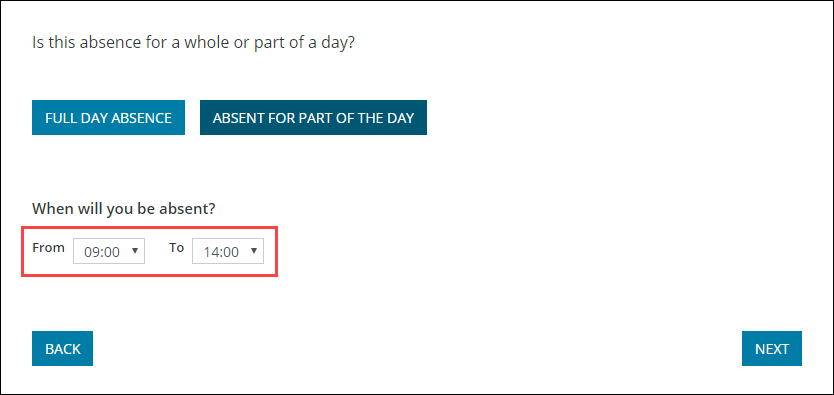
Select whether your absence is for the full day or part of the day.
If you clicked the Absent for part of the day button, enter the start and end times of the absence.
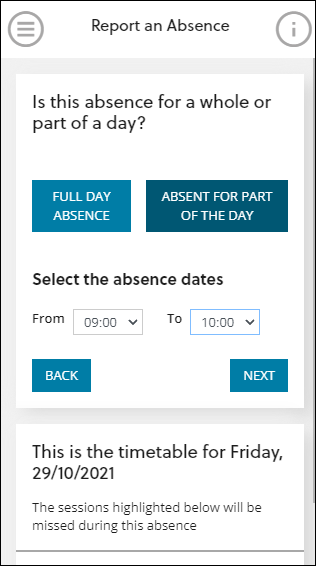
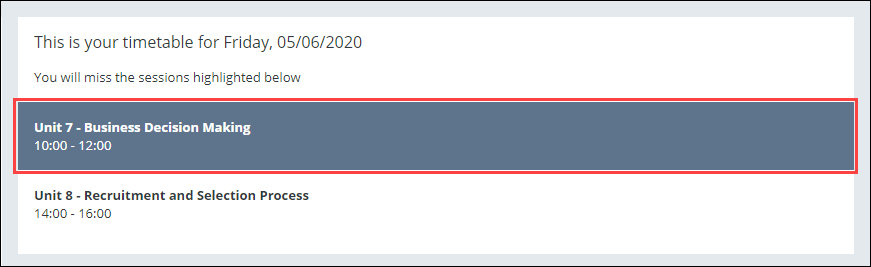
The sessions that you will miss are highlighted in the right-hand panel.
The sessions that you will miss are highlighted.
-
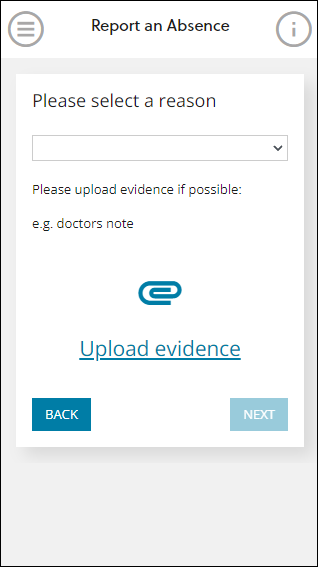
Click Next to display the Please select a reason screen.
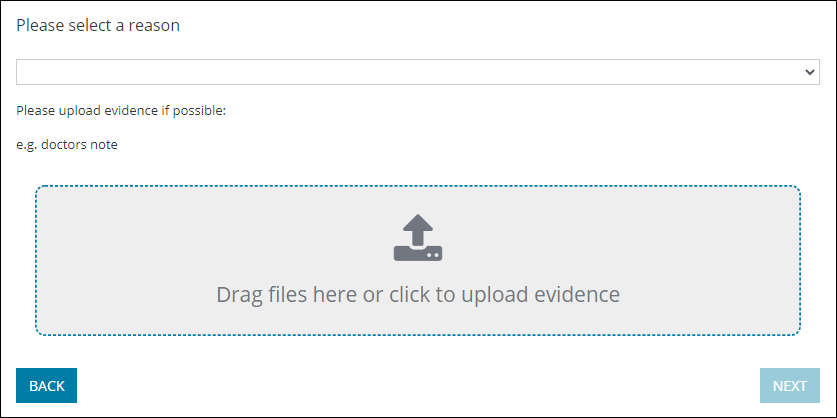
The 'Please select a reason' screen will not appear when selecting the Absent for part of the day button, if the Partial field is not ticked for the relevant usage code (on the Register Usage Codes reference data screen).
-
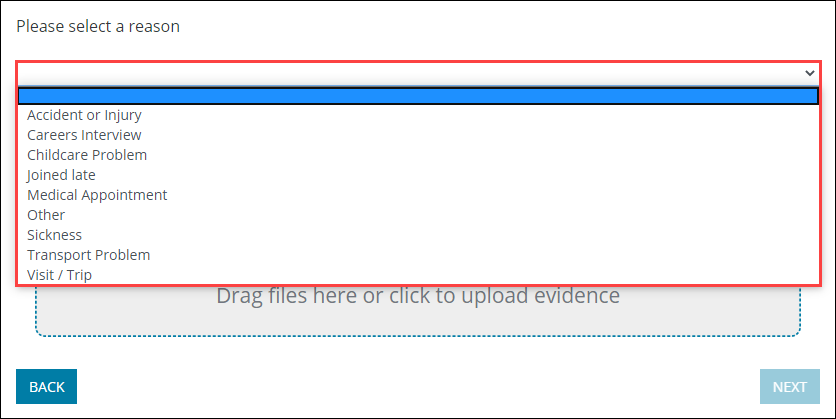
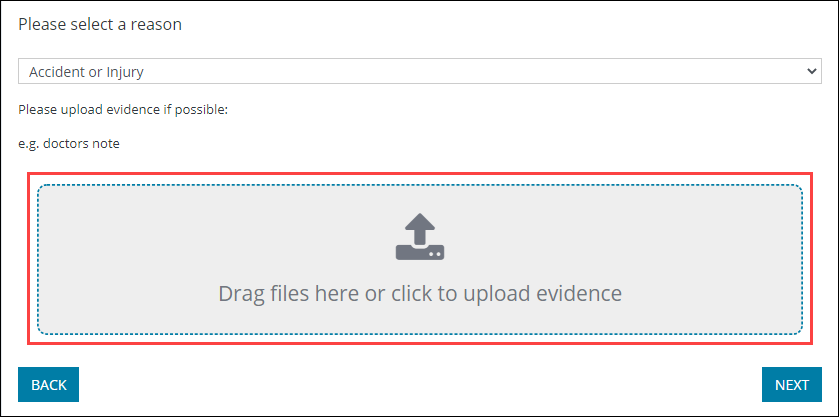
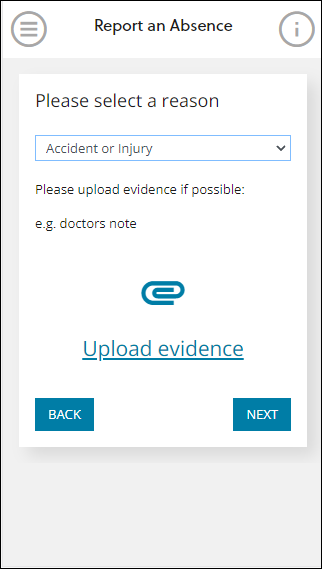
Select a reason from the drop-down list.
-
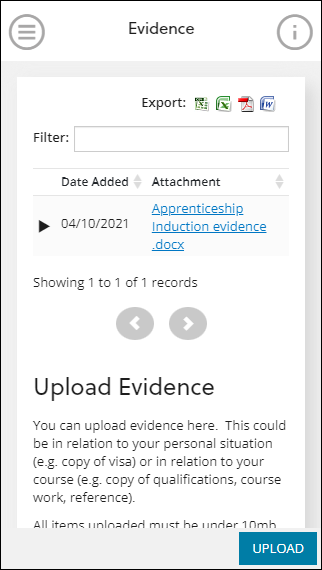
If you need to provide evidence of your absence, do one of the following:
- Drag and drop the file into the upload area
-
Click in the upload area to locate the relevant file
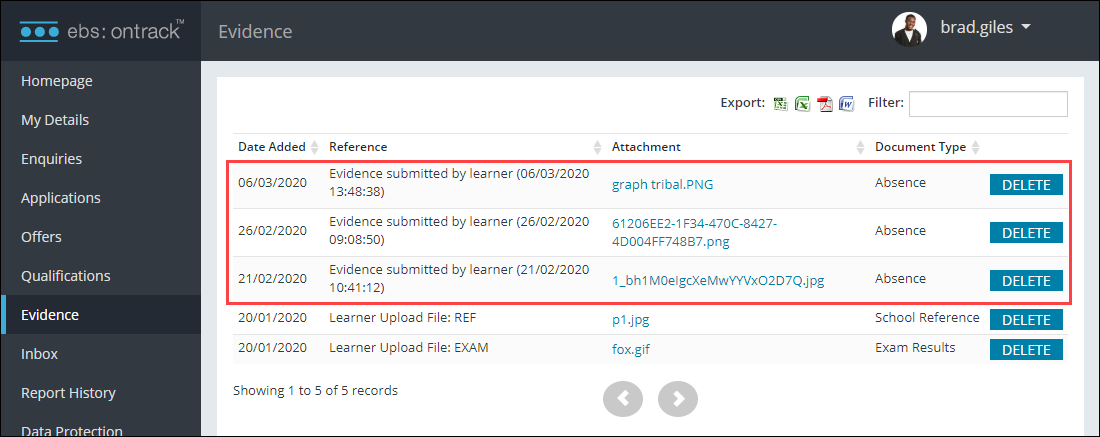
To view uploaded documents on the Learner Docs & Comms tab in Learner Details, you must add the ABSENCE document type to reference data.
The evidence is uploaded.
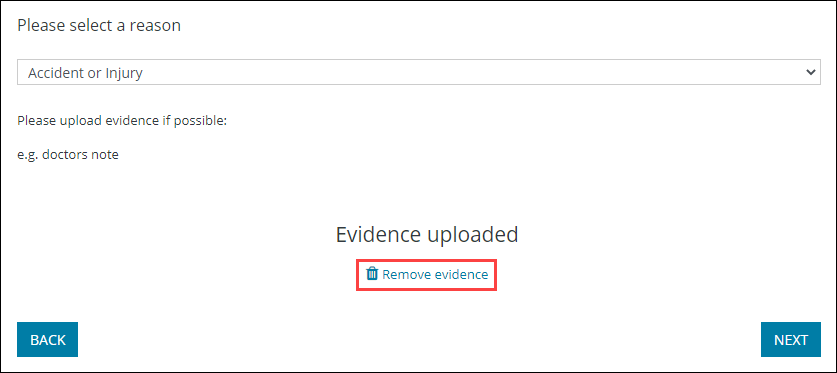
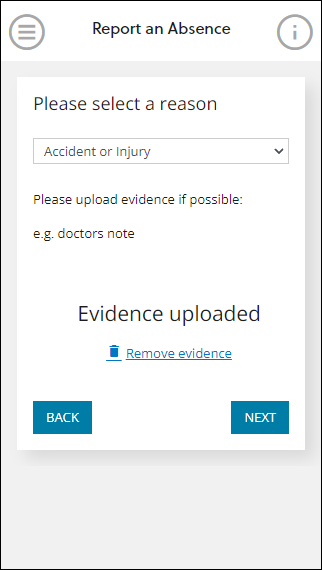
If you accidentally uploaded the wrong file, you can click the Remove evidence button.
-
Click Next.
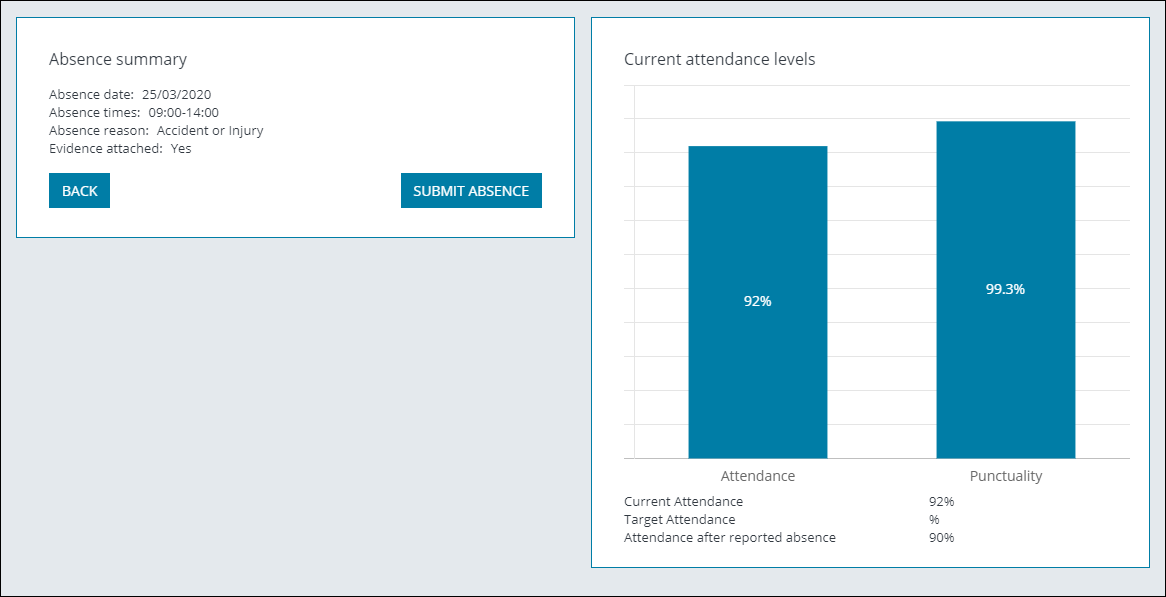
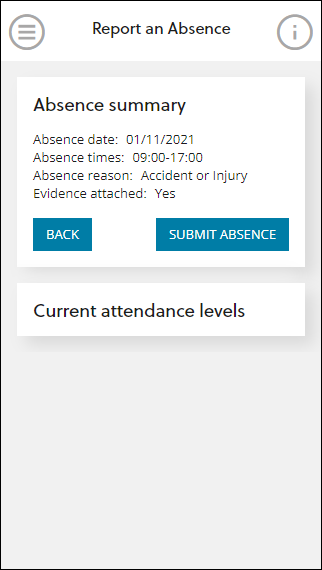
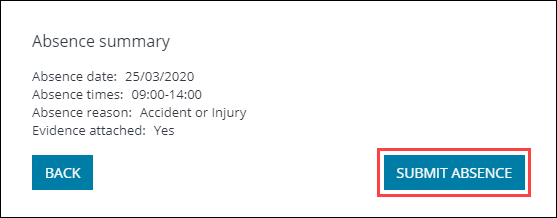
A summary of your absence is displayed, along with your current attendance levels.
-
Click the Submit Absence button to confirm the absence.
A submission confirmation is displayed.
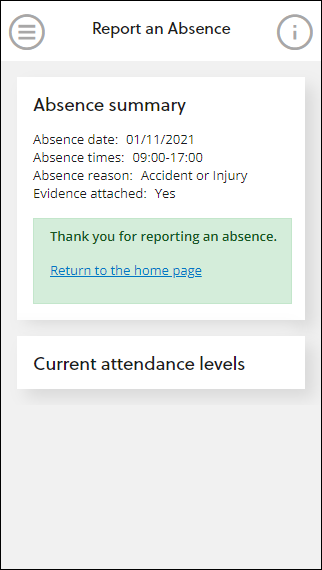
Any evidence uploaded in conjunction with the absence report will be displayed on the Evidence screen after submission.