The Upload Photo screen allows you to add a photo to your profile. You can either upload a photo stored on your computer or you can take a photo using a connected HTML5 web camera.
Not all institutions have a license for this feature. If the feature isn't active and you attempt to upload an image you'll get an error following your upload attempt.
-
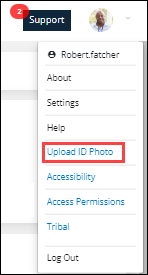
Select Upload Photo from User menu.
-
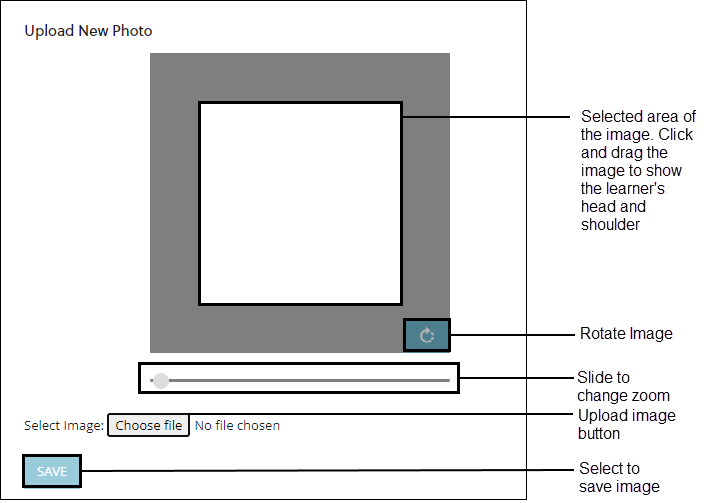
To upload an image file:
-
Select Choose file.
-
Find the image you want to upload and select Open.
-
Use the image tools to edit the image as you need.
-
Select Save to add the image to the learner's details page.
-
-
To take a photo with a connected web camera:
-
Select START CAMERA. This shows a live image from your camera just below the buttons.

Depending on your web browser's settings you may need to give permission for ontrack to access your camera.
-
When the learner is in permission select TAKE PHOTO. If the photo is not suitable, press TAKE PHOTO again to replace the previous image.
-
Select STOP CAMERA to turn off the live image from the camera.
-
Use the image tools to edit the image as you need.
-
Select Save to add the image to the learner's details page.
-