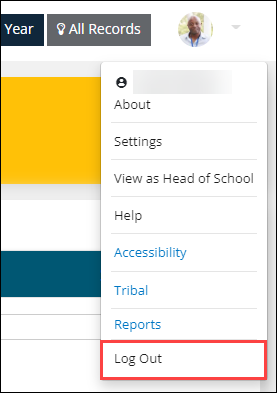
The header is an area of the screen that is fixed wherever you navigate throughout the system.
The Current Year and All Records options are on the header so you can easily view these settings and change them if required.
If viewing Ontrack Staff Hub at lower resolutions, the settings are accessible from the Settings option (accessed from the header menu) rather than the header.

You can change either setting by clicking the relevant option, which will highlight the option in the header to indicate the setting is applied.
The Current Year option will automatically apply the current year settings (as defined on the Ontrack screen in Institution Settings) against any search or any set of data loaded within a page.
Hovering the cursor over the Current Year option will also display a tooltip with the dates of the current year settings.

Click the All Records option to filter between all records and active records.

Clicking on the photo (or initial if no photo is available) displays a menu.
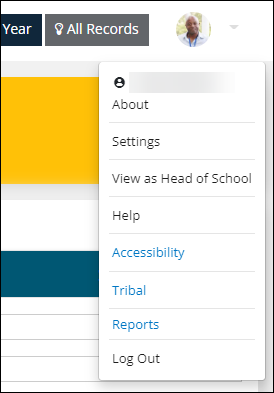
It includes with your username and the following relevant options:
Use the Change Password option to change the EBS password for the currently logged in user.
This will change the password for your user across all of EBS.
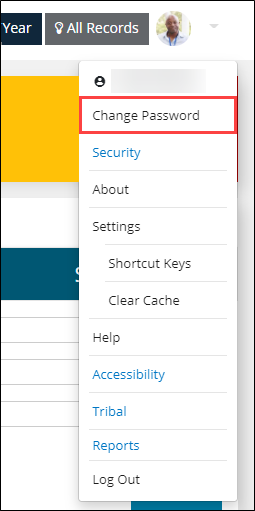
Clicking the option will open the Change Password window.
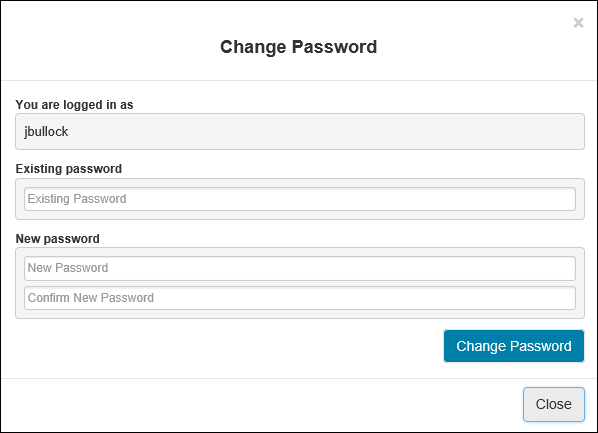
To change the password:
-
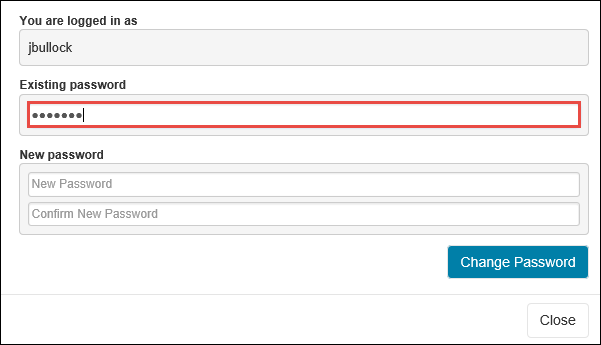
Enter the current password into the Existing Password field.
-
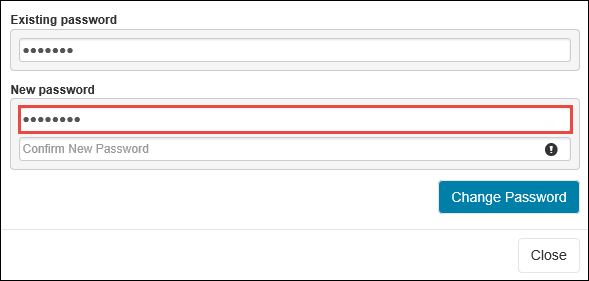
Enter the new password into the New Password field.
-
Enter the new password again into the Confirm New Password field.
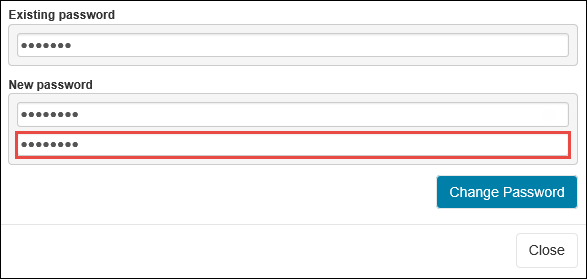
This password must be at least eight characters long, comprise of both upper and lower case letters and include a number. If the password does not include each of these things then you will not be able to change the password.
-
Click the Change Password button to confirm the change.
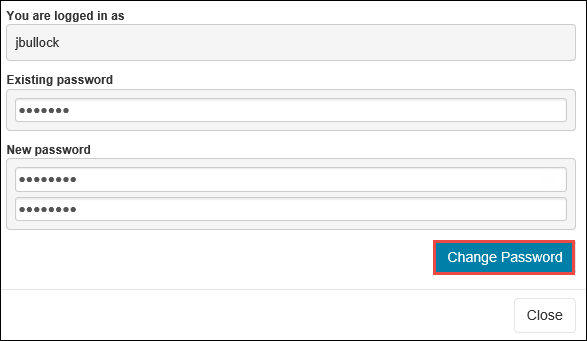
A message will display confirming that the password has been changed.

- Click Close to close the message.
Use the Security option to set your security questions for if you have forgotten your password.
This option is only displayed for users not using single-sign on (SSO).
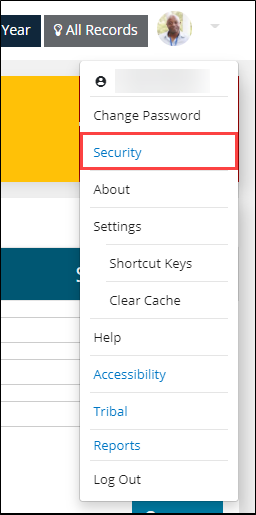
Clicking the option displays the Manage Security Questions screen, where you can view, add or delete your security questions and answers.
Both fields are required.

Use the About option to view system information.
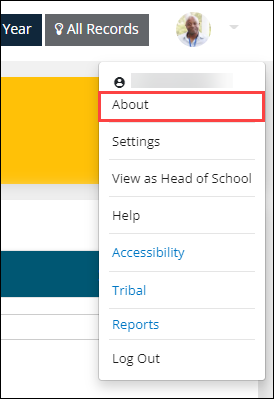
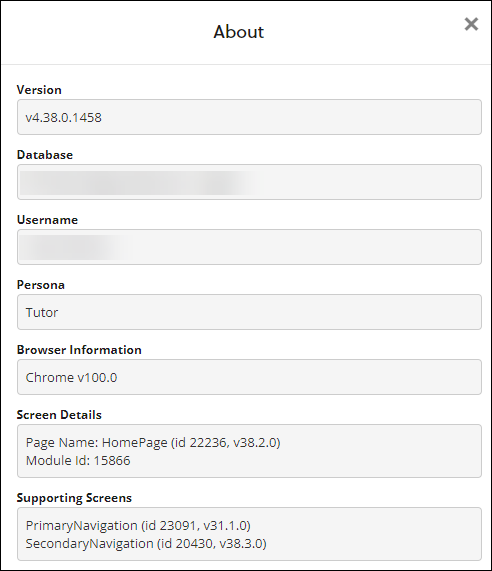
Clicking the option displays the About window which includes information about the following:
-
EBS version, database, current user and the primary role or persona assigned to them
-
Browser information
-
Screen details
-
Accessibility policy statement
-
Copyright notice which identifies all third-party software in use
The Settings option displays the relevant options available to the user.
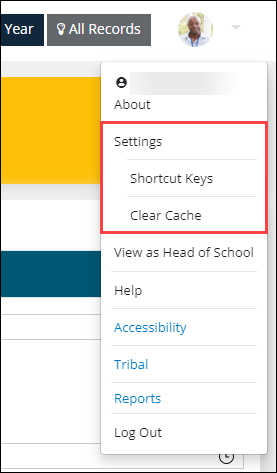
Options include:
-
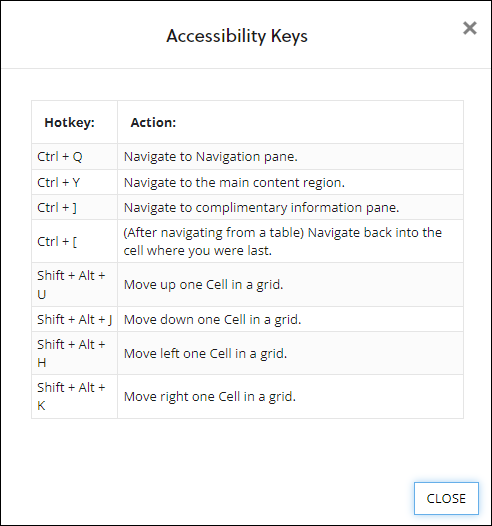
Shortcut Keys - displays the Accessibility Keys window which includes information on keyboard shortcuts available in Ontrack Staff Hub and the actions they perform.
-
Current Year - will automatically apply the current year settings (as defined on the Ontrack screen in Institution Settings) against any search or any set of data loaded within a screen.
-
Clear Cache - will clear the cache and refresh the page. This will then force through changes made in EBS (for example: changes to reference data items or institution settings) when the user logs back into Ontrack Staff Hub.
You can manually clear the cache for the EBS Ontrack Hub website and web services website (if appropriate REST services are available). This change should avoid the need for server access to perform IIS resets or application pool recycling.
Users must have the System Management Centre (SMC) role in the EBS Web Products group of User Management to access the Clear Cache option. This option is also available in Ontrack Learner Hub to users with this role.
Use the View as option to switch between your primary or secondary persona, click the relevant option (for example: View as Tutor) in the header menu.
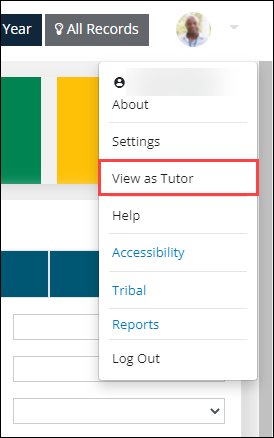
Users with a role in both the EBS Ontrack primary roles group and the EBS Ontrack secondary roles group can switch between EBS Ontrack Hub sessions without re-entering their user credentials.
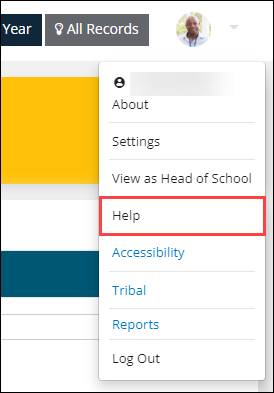
Use the Help option to open the EBS Online Help website in your default browser.
The URL must be entered in the Ontrack Hub online help URL institution setting (on the Ontrack screen) for the Help option to be displayed.
Use the Accessibility option to open the Accessibility Statement page, which outlines accessibility details.
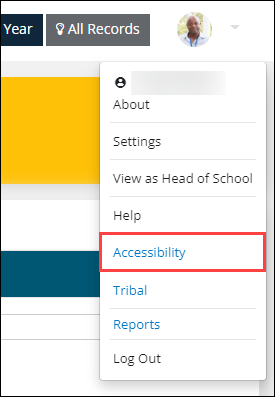
The statement can be edited in EBS Ontrack Hub Designer.
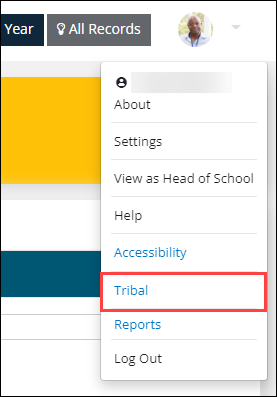
Use the Tribal option to open the Tribal website in your default browser.
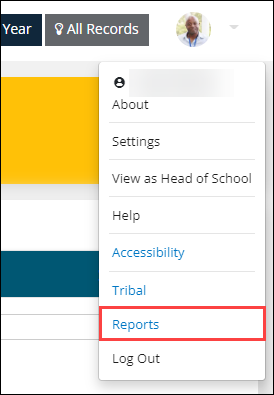
The Reports option opens a new tab which directs you to one of the following, depending on your institution's settings:
-
EBS Reports
The Log Out option logs you out of the system and returns you back to the login page.
